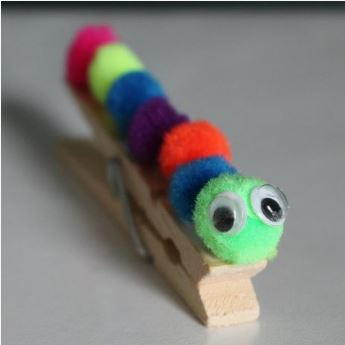
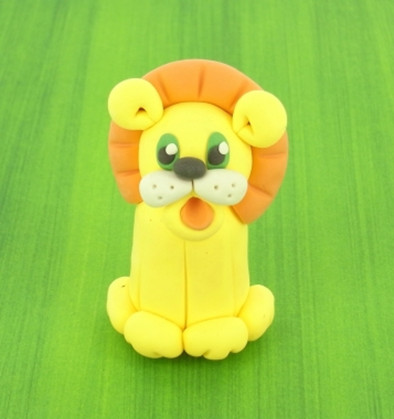
Unexpected Finger Puppet
If you've ever wondered how to make finger puppets that will last a lifetime, your answer lies in the Unexpected Finger Puppet. This amazingly easy finger puppet is made from an unexpected material, which makes it durable yet simple to construct. Clay project ideas are usually fairly similar, but this one is out of the box in a great way. Make your own puppet out of clay, and it'll be able to travel with you anywhere you go without getting ruined. This finger puppet is a roaring good time.
Materials:
- Sculpey Pluffy in Orange, Yellow, Black and Green
- Aluminum foil
- Clear tape
- Toothpick
Instructions:
Notes: Do not use unbaked clay on unprotected furniture or finished surfaces. Start with clean hands and work surface area. Good work surfaces include wax paper, metal baking sheet, or disposable foil. Knead clay until soft and smooth. For best results, clean your hands in between colors. Shape clay, pressing pieces together firmly. Bake on oven-proof glass or metal surface at 275°F (130°C) for 15 minutes per ¼" (6 mm) thickness. For best baking results, use an oven thermometer. DO NOT USE MICROWAVE OVEN. DO NOT EXCEED THE ABOVE TEMPERATURE OR RECOMMENDED BAKING TIME. Wash hands after use. Baking should be completed by an adult.
1.) Begin by preheating oven to 275°F (130 °C). Test temperature with oven thermometer for perfectly cured clay. For best results, condition all clay by squeezing small pieces in your hands until they are soft and pliable.
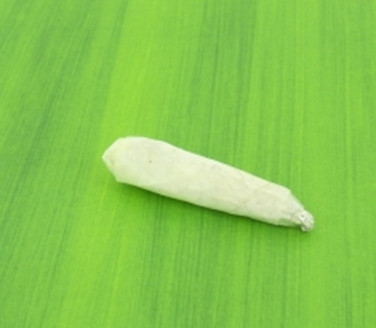
2.) Create an aluminum foil armature that is about the same size as your finger by making a log shape out of sheets foil compacted together. Make sure the foil is compacted well. Cover the outside of the foil finger with layers of tape so that it is smooth and clay cannot get trapped in the texture of the foil.
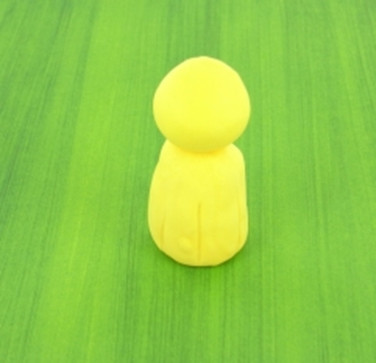
3.) Shape a large piece of Yellow Pluffy into a thick log approximately 2” long x ¾” thick for the lion's body. Push the foil finger up inside the clay and re-shape it as necessary.
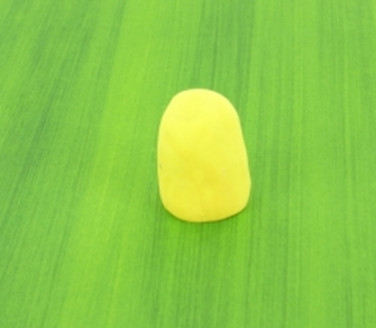
4.) Create a ball shape about 1” round for the head. Add this to the top of the body. Use the toothpick to score lines in the body to indicate legs.
5.) Create a long rope of Orange Pluffy for the mane and wrap this around the top of the head. Cut off the excess. Press lines into the mane with toothpick to mimic hair. Make four little Yellow ovals for the feet. Attach these to the front of the legs. Press lines into the feet to mimic toes.
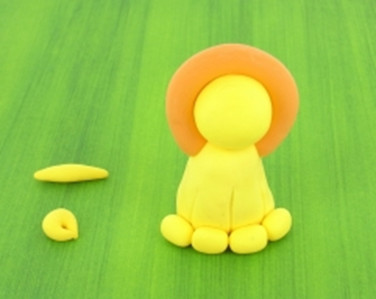
6.) To make the mouth and the ears, first create a small log of Yellow Pluffy that is tapered on both ends. Bend the piece in half so the tapered ends touch. Make two for the ears and one for the mouth. Press the ears and mouth onto the face.
7.) Make two flat ovals from Green Pluffy for the eyes. Make two White teardrop shapes for the muzzle. Attach right above the mouth. Make an Orange flattened teardrop for the tongue. Place inside the mouth. Make two small Black disks for the pupils in the eyes and highlight with two tiny balls of white. Make a Black oval for a nose. Prick little whisker marks in the muzzle with the toothpick.
8.) Very gently remove the foil armature and bake the puppet standing up on a pan according to the above directions.
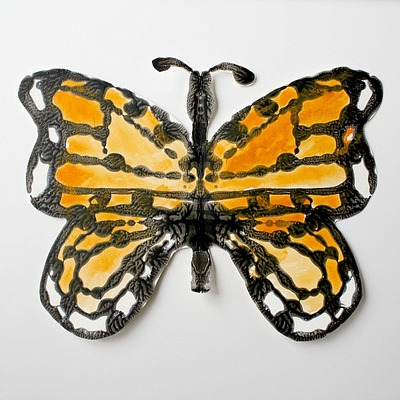
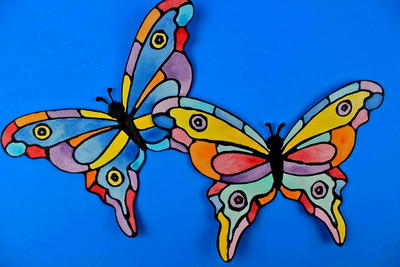
Read NextFaux Stained-Glass Butterflies