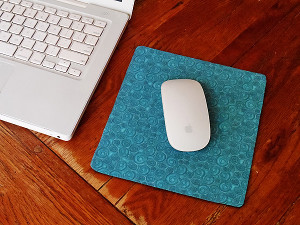
Mouse Pad Makeover
Give your mouse pad a makeover with this easy-to-follow tutorial. Mouse Pad Makeovers are perfect homemade gift ideas because they're budget friendly, but they look fantastic. Personalize the present by picking fabric that represents the recipient. If you don't have a gift to give, make these DIY home decor crafts to brighten up your room or office. Turn a boring homework desk into a fashion-forward work space in no time. These are the perfect crafts for teenagers to make.

Materials:
- Old mousepad
- Fabric of your choice
- Iron-on adhesive
- Scissors
Instructions:
-
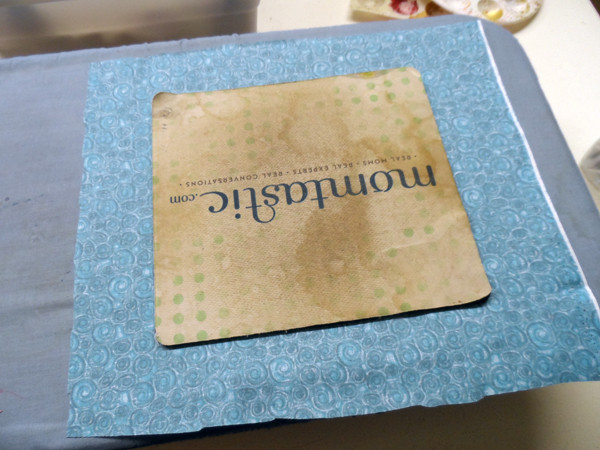
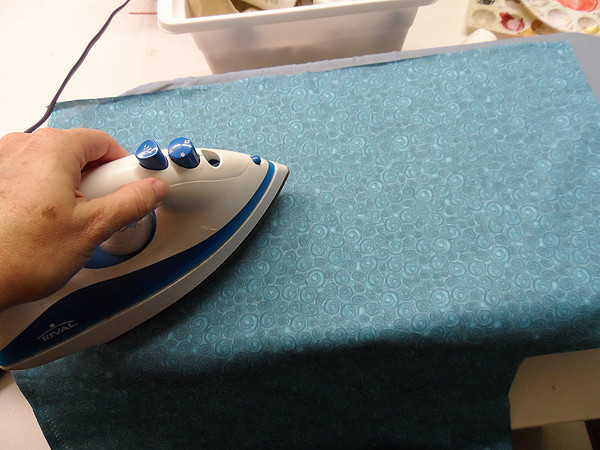
Cut a piece of fabric about 2-inches larger than your mousepad, all the way around. Iron the fabric on medium setting.
-
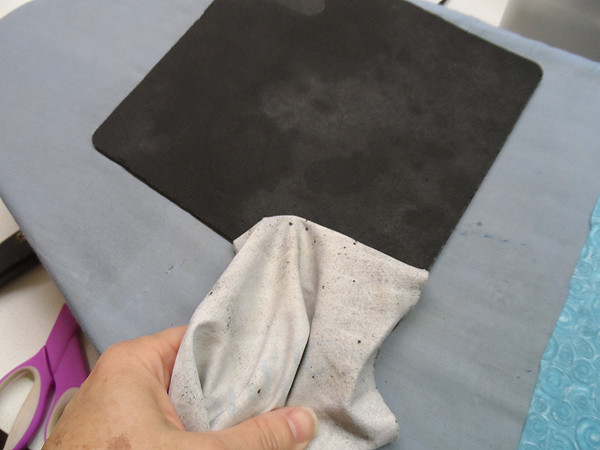
Carefully remove the fabric from your old mousepad. Don't pull too quickly as you may pull some of the foam off with it.
-
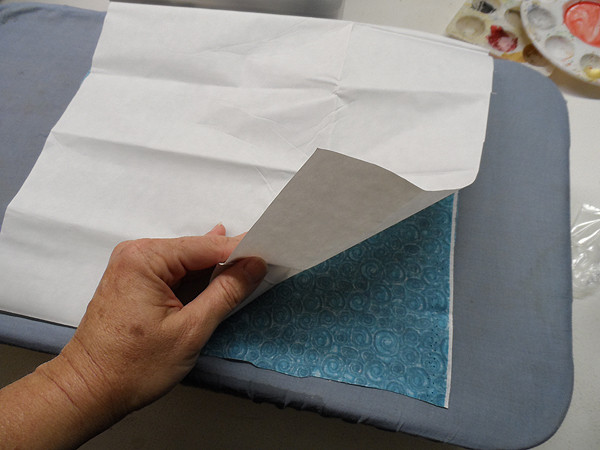
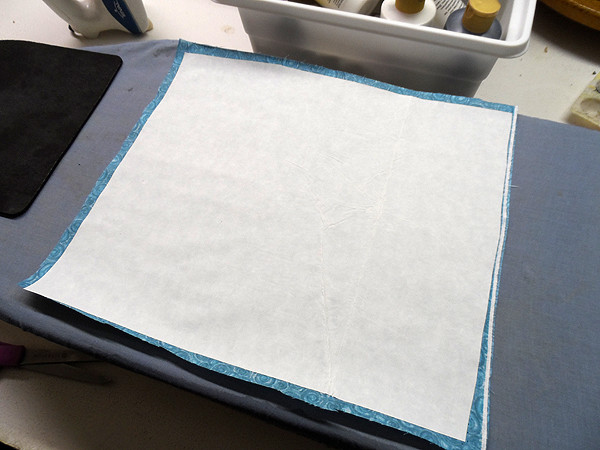
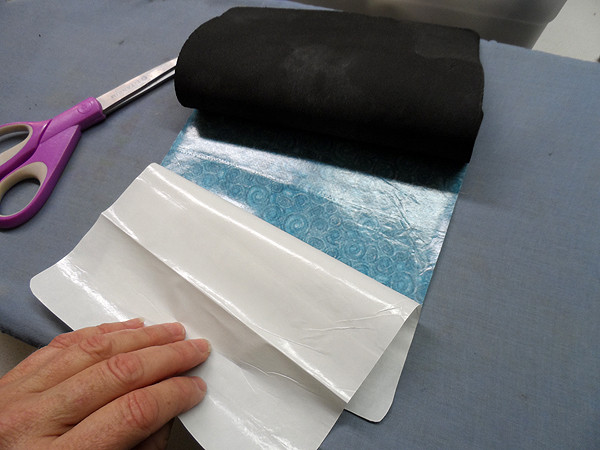
Place the fabric, wrong side facing up, onto the ironing board. Cut a piece of adhesive the same size of your fabric and place it shiny side down onto the fabric.
-
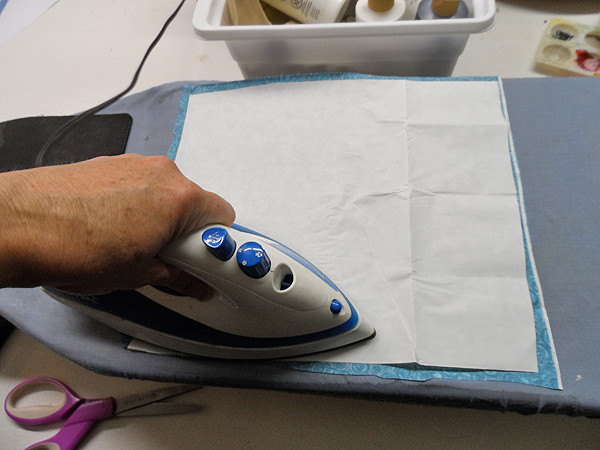
Iron the adhesive to the fabric following the instructions on the back of the package.
-
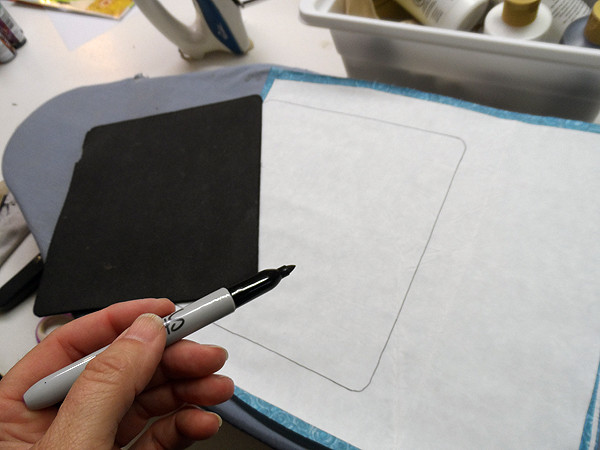
Use a pen or marker to trace the shape of your mousepad onto the adhesive backing.
-
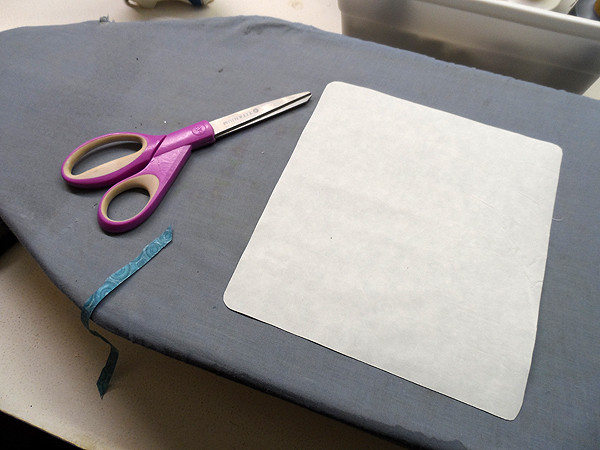
Cut the shape from the adhesive/fabric combination.
-
Peel the backing off of the adhesive, the shiny adhesive will be left on the fabric.
-
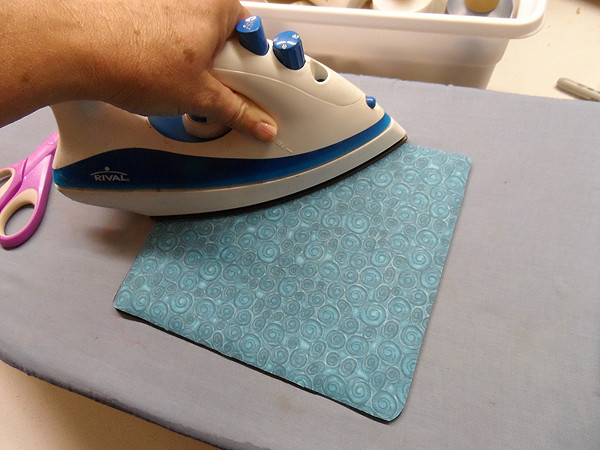
Place the adhesive-backed fabric onto the mouse pad foam and iron it in place according to the package directions (for heat setting and time).
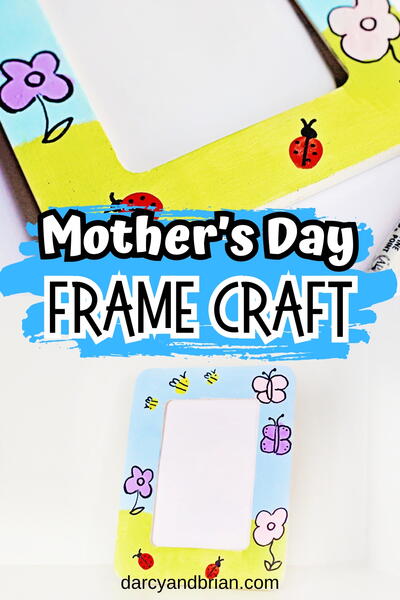
Read NextMother's Day Frame Craft