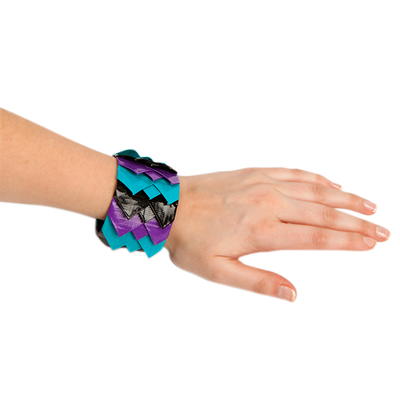
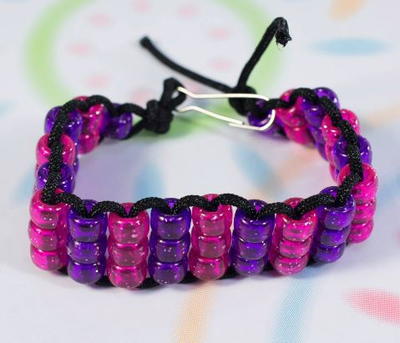
Sassy Scalloped DIY Bracelet
Your kids can add some major attitude to their wardrobe this summer with this DIY bracelet project for jewelry-making beginners.

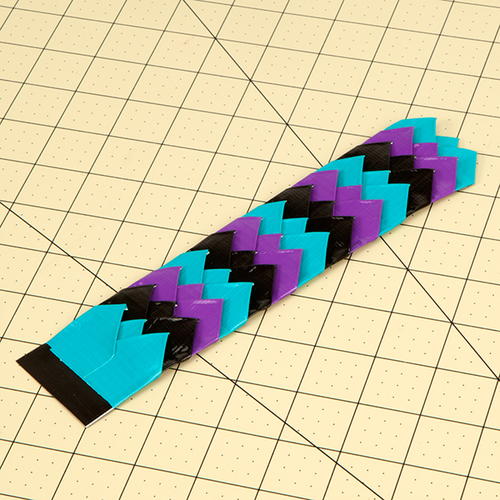
Forget flowers or pastels this summer! Your girls can add some much-needed edge to their summer wardrobes with this cool Sassy Scalloped DIY Bracelet. A definite must-have for fashionistas, this DIY kids' craft is made almost completely with duct tape, meaning it's super budget-friendly.
This duct tape craft idea is the perfect way to add a touch of punk to any outfit, so this arm candy looks fantastic with band tees and Converse. These free kids' crafts are great for elementary kids and tweens, and they're the perfect way to replace old-fashioned friendship bracelets of yesteryear. Let your girls embrace their inner wild side this summer with these fun and fashion-forward DIY accessories.
Estimated CostUnder $10
Time to CompleteUnder an hour
Primary TechniqueJewelry Making

SeasonSummer
Age GroupElementary School, Pre-Teens
Project TypeMake a Project
Materials List
- Duck Tape®
- Scissors
- Craft Knife
- Hook and Loop Fastener
- Crafting Board
Instructions
-
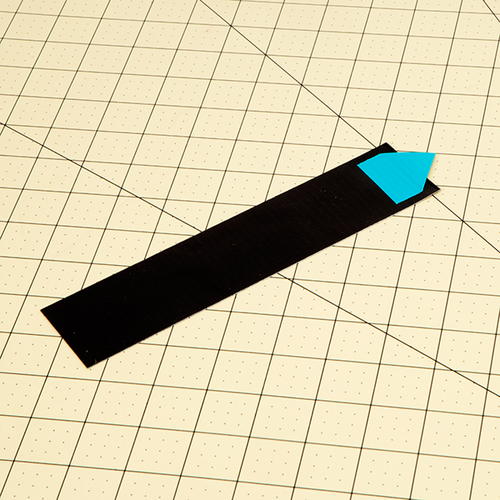
Make a double sided Duck Tape® strip that is 8 in. long.
-
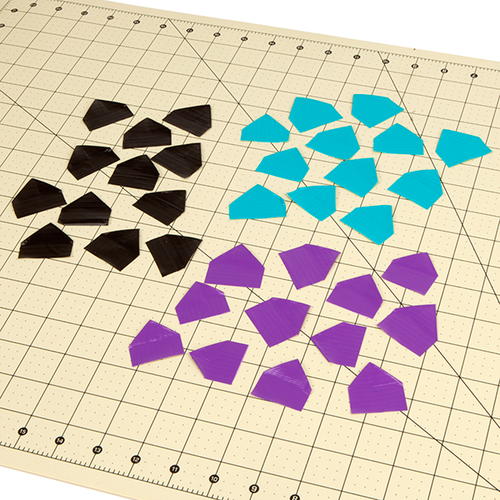
Make 15 squares of each color Duck Tape® that are 1.5 in. long and 1.5 in. wide. You should have a total of 45 squares.
-
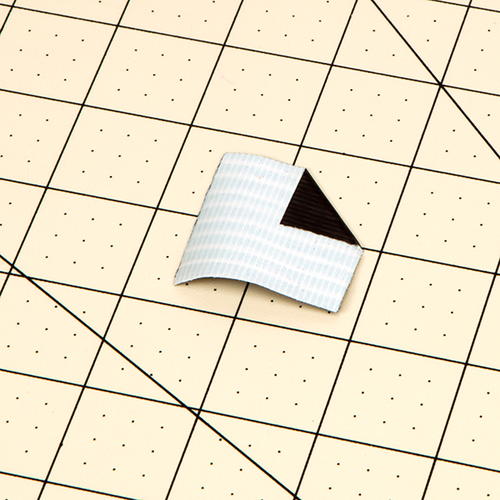
Take each square, sticky side up, and fold the top right corner over so there is one eighth of an inch of sticky part showing around both edges.
-
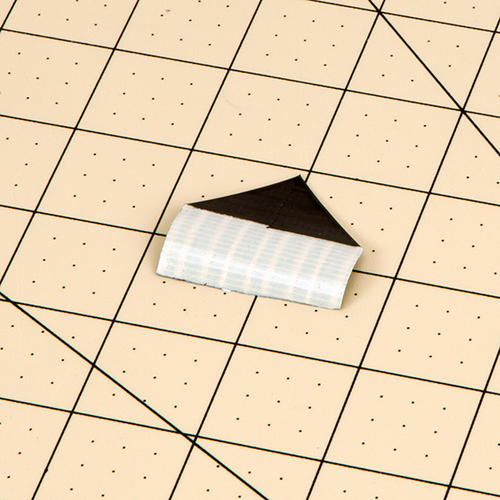
Fold the left top corner down so that there is only a little of your sticky side showing on the bottom.
-
Repeat steps 3-4 so you have 45 scallops.
-
Place one of your scallops on the top center of your strip from step 1.
-
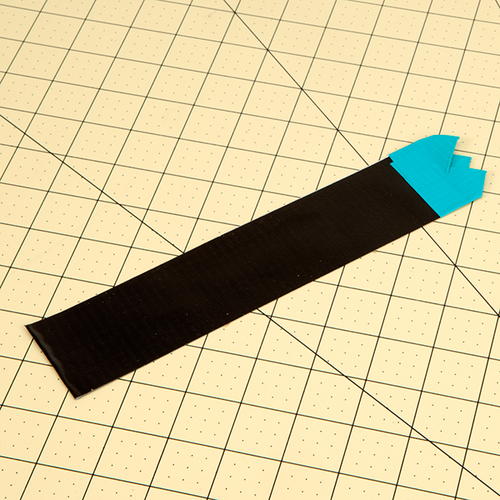
Layer two more scallops on the left and right side of your strip. Create your own pattern with your Duck Tape®. Fold over the excess edges on the back of your bracelet.
-
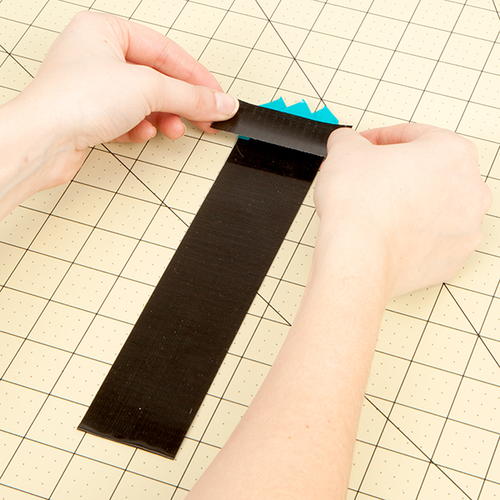
Flip the bracelet over and place a small strip of Duck Tape® on the back to clean up your top edge.
-
Repeat steps 6-7 until you’ve covered the entire bracelet.


What are your kids' favorite DIY accessories? Be sure to let us know below in the comments!