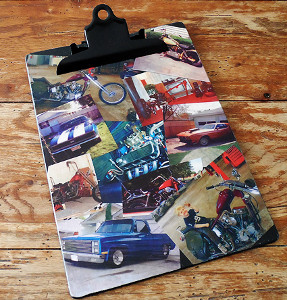
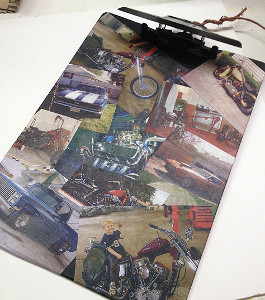
Photo Collage Clipboard
Keep Dad's favorite memories close to him always when you make a Photo Collage Clipboard as a gift. Homemade Father's Day gifts mean the world to those important men in your life, so take the time to really put in thought and effort. Pops will love carrying around his personalized clipboard and showing everyone snapshots of the people and things that he loves. Collage crafts are a great way to combine memories and creativity for the perfect present.
Materials:
- Clipboard
- Painter's tape
- Black spray paint
- Mod Podge or other decoupage medium
- Photo copies of photographs
- Sealer spray
- Sandpaper
Instructions:
-
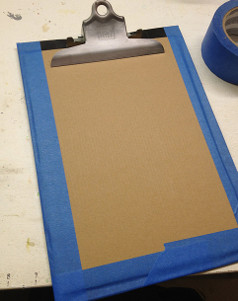
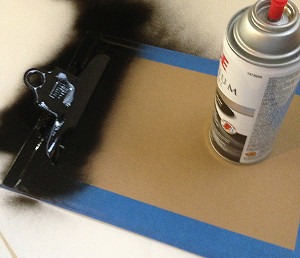
Clean the metal clip on the clipboard. Remove any dirt or sticky residue. Cover clipboard with a piece of cardboard and painter's tape. Be sure all areas except for the metal clip are covered.
-
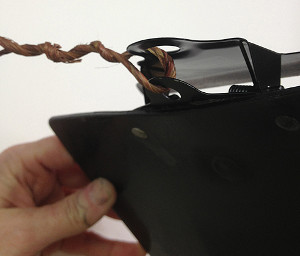
Spray paint the metal clip with black paint. Allow to dry for 20 minutes then add another coat. When completely dry, use a piece of heavy floral wire or several pipe cleaners to hold the clip open. Spray the inside of the clip, repeat.
-
Remove the painter's tape and cardboard from the board. Apply a thin coat of decoupage medium (Mod Podge) to the board to prep the surface.
-
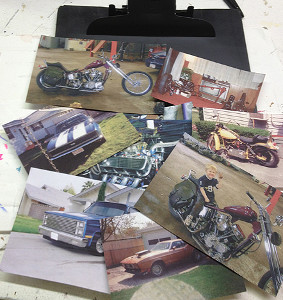
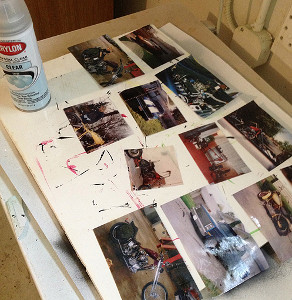
Choose photos that you want to use to cover your clipboard. Photo hint: I chose photos of several of the cars, trucks and motorcycles my husband has bought, worked on, and sold over the years. They mean a lot to him, so putting them on something useful, like this clipboard, makes a great gift. Photos of your children, favorite pets, or a project he's worked on are all great examples. Print out the pictures on regular computer paper.
-
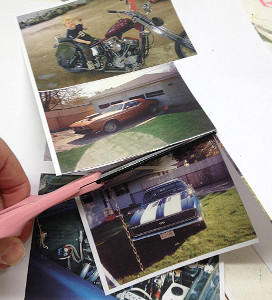
Trim your photocopies and spray each one with sealer. Allow them to dry completely. Applying sealer will help keep the ink from bleeding when decoupage is applied.
-
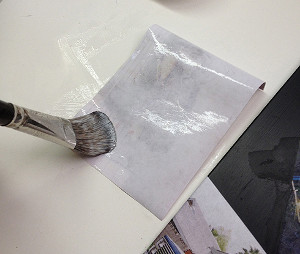
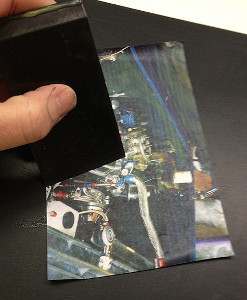
Paint a layer of decoupage medium on to the back of your first photo copy. Place photo copy onto the board and gently press from the center of the picture. Use a straight edge like a credit card, to smooth the paper down from the middle to the edges, to keep bubbles out.
-
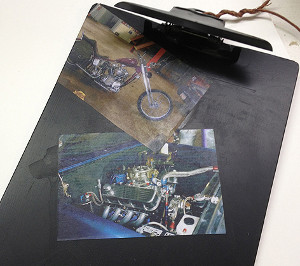
Repeat this process, overlapping photos as you go, until you have covered the board. You can trim the excess pieces hanging over, but you will clean this all up in a later step. Let this dry for 2 hours.Hint: Bubbling often occurs because the paper has not had sufficient time to dry underneath before another wet layer is applied to the top.
-
Apply a generous coat of decoupage medium over the entire surface. Let it dry for a few hours.
-
Turn the board over and use a razor blade or craft knife to trim the edges of overlapping paper flush with the board. Use a piece of sandpaper to rough up the edges a bit. Dust it all off and apply another generous coat of decoupage medium and allow to dry overnight.
-
Untie the wire from the clip.
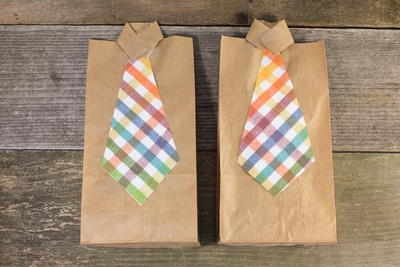
Read NextDIY Father's Day Goodie Bag