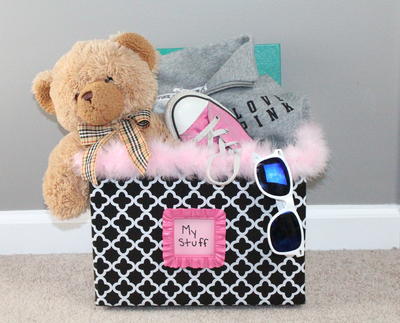
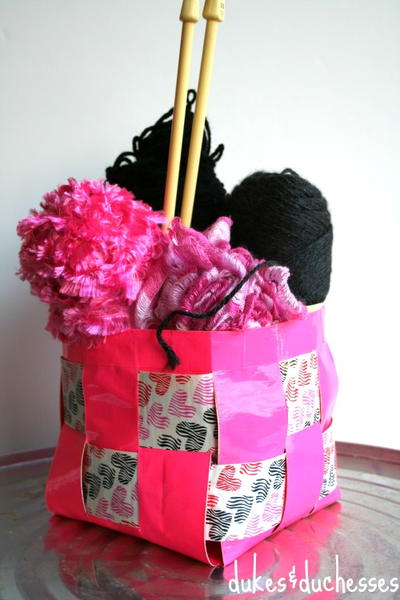
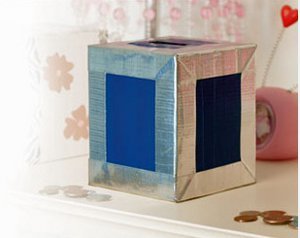
DIY Storage Box
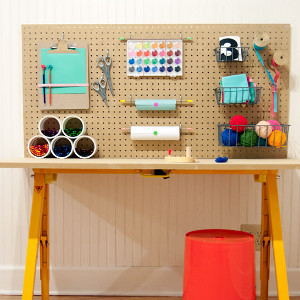
 Storage and organization are important, but materials can get expensive. You can easily recycle a cardboard box and make an awesome DIY Storage Box. Instead of throwing away boxes from online purchases, upcycle them with this DIY storage box idea. You will always know where everything is when you organize your room this way. The school year will be extra easy when you can find everything you need in the morning when you're getting ready. Organize your desk and closet with your DIY storage boxes. You can color code them or decorate them with fun patterns. Your mom will never have to ask you to clean your room ever again, because it will always be perfectly organized.
Materials:
- Cardboard box
- Pattern Contact Paper
- Scissors
- Feather Boa
- Mini Picture Frame
- Hot Glue

Find this craft and more in our FREE eBook: 14 Cool Room Ideas: DIY Room Decor for Teens!
Instructions:
1. Cut the flaps off the cardboard box.
2. Peel back an inch or so of the contact paper and place it down on an edge of the box. Make sure there is excess on both the top and bottom.
3. Wrap around the entire box by pulling back the backing a little at a time.
4. Cut into the contact paper at all of the corners. Fold the flaps that you just created over into the box or onto the bottom.
5. Hot glue the feather boa around the top and the picture frame where you want it. Inside the picture frame you can write the contents of the box.
Read NextBasket Weaving Duct Tape Craft