How to Paper Mache and 7 Paper Mache Crafts for Kids
An easy art project that you have to try with the kids!

Originating from the French art form, paper mache has become a popular crafting project, especially with the kids. If you've never tried this easy kids' art project before here's How to Paper Mache and 7 Paper Mache Craft for Kids. This craft is like an easier version of sculpting, where scrap paper and a base or form is used to create certain shapes. When this dries, it becomes a fun painting craft that the kids will love. There's so much potential for projects like these, and our steps below will help your first experience with the craft super easy and enjoyable.
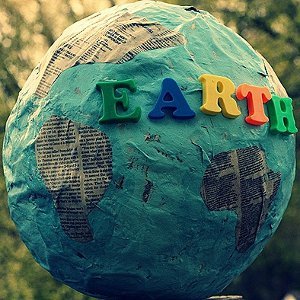
These paper mache projects for kids are all easy to make, and you probably already have all the materials lying around the house. The best part about the craft is that it uses newspaper, which makes it a great recycling craft idea for the kids. Not only are they reusing old newspaper, they're getting creative and making something new. These are also great projects for a teacher with her students, especially during art class. You and the kids won't be disappointed with this easy craft project!
How to Paper Mache
Paper Mache Instructions
No worries if you've never tried paper mache before. These easy step-by-step instructions will walk you through the process. You'll be a paper mache pro before you know it. If you have done paper mache projects with your kids, don't skip over these instructions and tips! You may find some paper mache hacks that will make the process much easier for you.
-
Gather the materials. In order to get the crafting going, you’ll need to make sure you have these items on hand: flour, water, mixing bowl, spoon, and newspaper, tissue paper, or paper towels.
-
Mix flour and water. Start by adding water and flour to your mixing bowl. Stir until a glue-like substance forms. You can always add more water if the mixture is too thick and more flour if it's too watery.
-
Add salt to the mixture. By putting in a few teaspoons of salt, this will help prevent mold from forming since this is technically food that you're working with.
-
Let paper strips soak. Place newspaper strips in a tray with the glue mixture to thoroughly soak. Make sure they get as goopy and gluey as you can make them without clumps forming. You'll want them sticky in order to remain attached to the object you're using as a form.
-
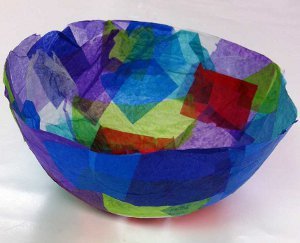
Use vaseline on model form. If you're planning on using a bowl or other object as a form, spread a layer of vaseline over the surface to make the paper mache easier to remove from the object it's formed to once it's dry.
-
Layer 2-3 times and let dry. Only layer in sets of 2-3 at a time. You'll want to give each layer enough time to dry and stick to each other. You can always add 2-3 more layers after the first set has dried. Use a paint brush to smooth out any air bubbles.
-
Use regular paper for final layer. This is an optional step, but many crafters use regular paper as the final layer of their paper mache figure to make painting when dry much easier.
Easy Paper Mache Projects
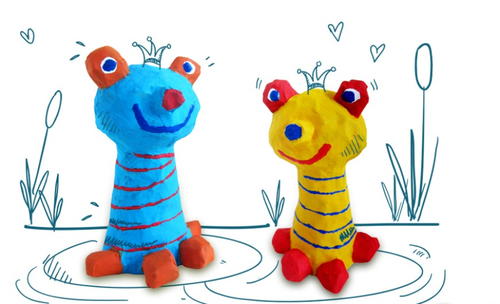
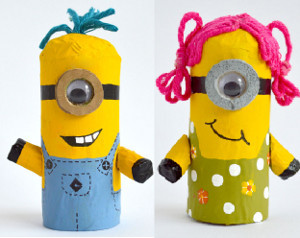
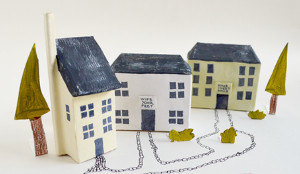
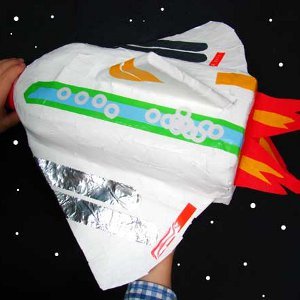
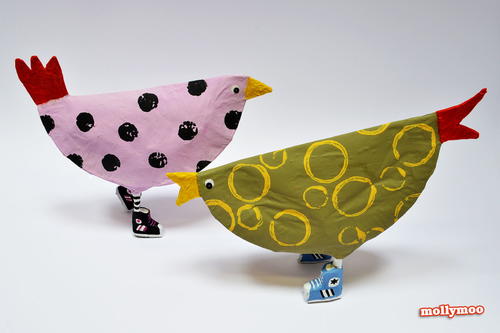
Now that you've mastered these really easy paper mache instructions, it's time to get crafting with some of these adorable paper mache crafts. From popular culture crafts like the minions to animal craft ideas, the kids will not get bored with these art projects for kids.
Which craft do you think your kids will want to paper mache?
Read Next100+ Free Printable Crafts for Kids