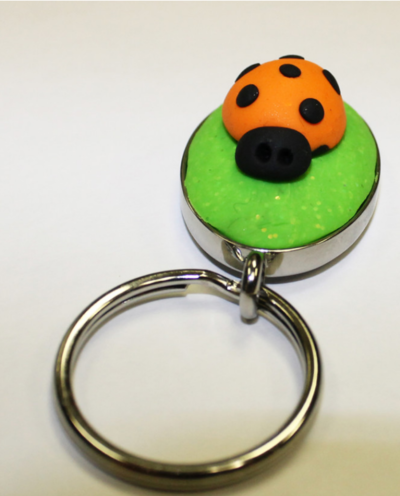
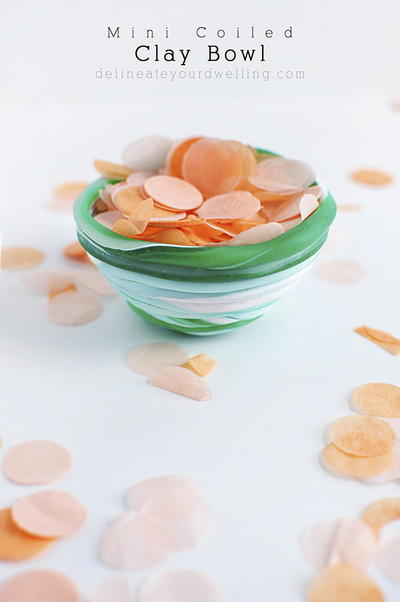
Clay Ladybug Keychain

What better way to celebrate back to school than with a precious Clay Ladybug Keychain for your backpack. This easy DIY keychain is made with oven bake clay for a fun activity to do with kids before they head back to school in the fall. Who doesn't love ladybugs? Make this cute bug craft for your little one who loves nature and bugs or for anyone who would appreciate a little love bug charm for their backpack! These homemade keychains are perfect for adding a little touch of color to your child's backpack this school year.
Estimated Cost$11-$20
Time to CompleteIn an evening
MaterialsClay
Primary TechniqueGeneral Crafts

Age GroupPreschool & Kindergarten, Elementary School, Pre-Teens
Materials List
- Oval keychain form
- Toothpick
- Glue
- SculpeyIII
Getting Started
-
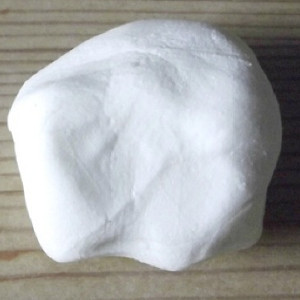
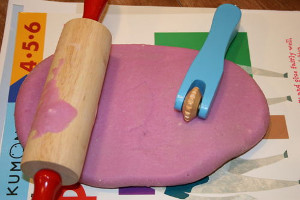
Polymer clay may stain. CLAY MAY DAMAGE UNPROTECTED FURNITURE OR FINISHED SURFACES. DO NOT USE polymer clay on unprotected surfaces. We recommend working on the Sculpey clay mat, wax paper, metal baking sheet, or disposable foil. Start with clean hands and work surface area. Knead clay until soft and smooth. For best results, clean your hands in between colors. Shape clay, pressing pieces together firmly. Bake on oven-proof glass or metal surface at 275°F (130 °C) for 15 minutes per ¼" (6 mm) thickness. For best baking results, use an oven thermometer. DO NOT USE MICROWAVE OVEN. DO NOT EXCEED THE ABOVE TEMPERATURE OR RECOMMENDED BAKING TIME. Wash hands after use. Baking should be completed by an adult. Begin by preheating oven to 275 °F (130 °C). Test temperature with oven thermometer for perfectly cured clay. For best results, condition all clay by running it through the Clay Conditioning Machine for several passes on the widest setting. Fold the clay in half after each pass and insert the fold side into the rollers first.
Keychain Instructions
-
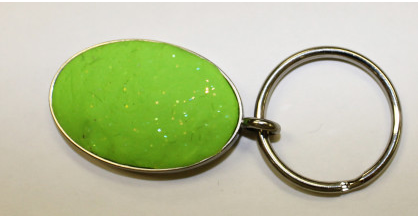
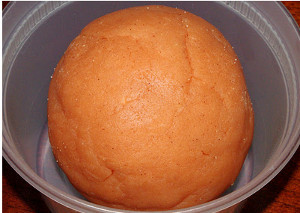
Start with a little less than 1/8 of the Granny Smith clay. Push into oval keychain form.
-
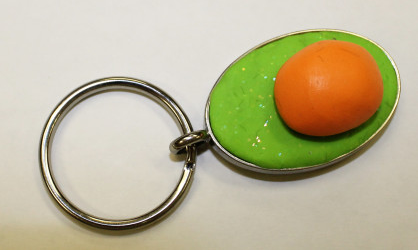
Lady bug body: Take 1/8 of a bar of Just Orange. Make an egg shape and flatten on one side. Press into Granny Smith oval.
-
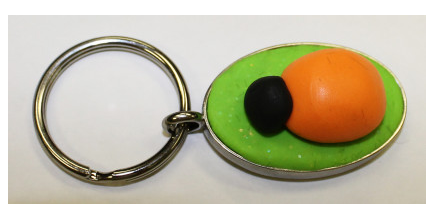
Lady bug Head: Take a tiny ball of Black clay and push on top of the body.
-
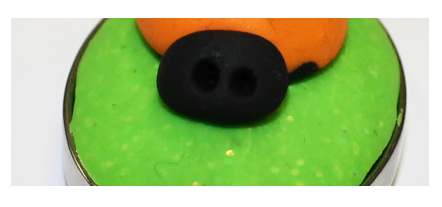
Use the toothpick and make two eyes.
-
Make teeny tiny balls using Black clay and make the lady bug’s spots. Push balls into body.
-
Bake according to the directions above and allow to cool completely. Then apply a small amount of glue to the bottom of the Granny Smith clay and press into the keychain form.
-
Try this version as an alternate color scheme using Sculpey III Purple and Hot Pink!