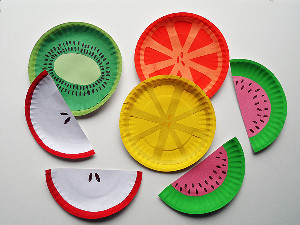
Paper Plate Fruity Fun
With the sunshine of summer comes the juicy and delicious goodness of fresh fruit. Sweet fruit is just as pleasing to the taste buds as it is to the eyes. This summer, make it so that both your eyes and your tongue are satisfied. When you make Paper Plate Fruity Fun, your eyes can feast on the beauty of kids' paper plate crafts while your tummy enjoys the real thing. When you make these summer crafts for kids, you won't feel guilty devouring your fruit for fear that you won't ever see the bright colors the healthy fare offers. Your easy crafts for kids to make will take care of those bright colors and keep them in sight always.

Materials:
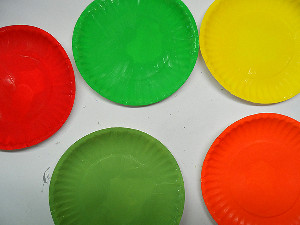
- 5 miniature paper plates
- Craft paint: red, orange, green, olive green, yellow, white
- Construction paper: yellow, orange, green, pink, white
- Markers: brown, yellow, orange
- Scissors
- Glue stick
Instructions:
-
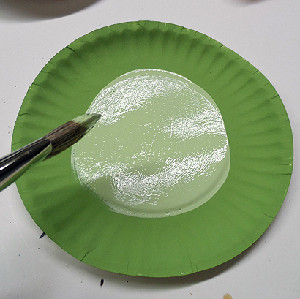
Paint the paper plates, one each: red, orange, olive green, green and yellow. You may need to add a second coat. Allow to dry. For the kiwi plate (olive green), mix a little olive green with white to lighten it up and paint the center of the olive green plate.
-
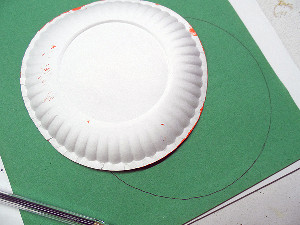
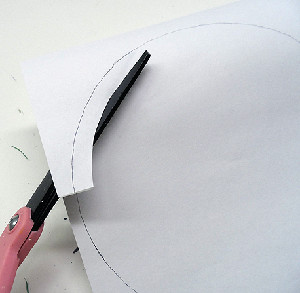
Using one of the paper plates as a template, draw a circle onto each piece of construction paper. Follow the directions for each piece of fruit below:
-
Apple- Cut the circle from the white paper, trimming off about 1/2-inch all the way around. Use glue stick to attach the white circle to the red paper plate. Cut the paper plate in half and use the brown marker to draw seeds.
-
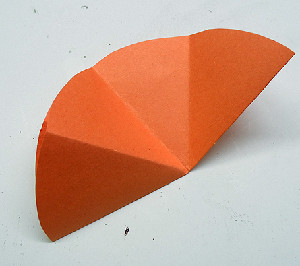
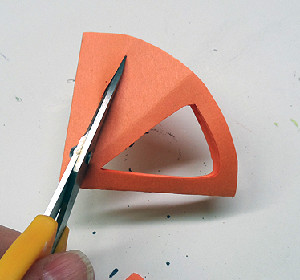
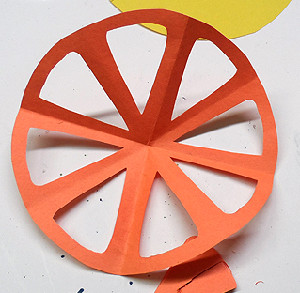
Orange- Cut the circle from the orange paper, trimming off about 1/2-inch all the way around. Fold the orange circle in half, then in half again and finally in half again. Unfold once. use scissors to cut out the center sections of each triangle, cut through several layers of paper at once. Unfold and attach the circle (which should look like a wagon wheel) to the orange plate using a glue stick. Use an orange marker to draw a few seeds in the center.
-
Lemon- Repeat the steps as with the orange above using yellow paper and a yellow marker.
-
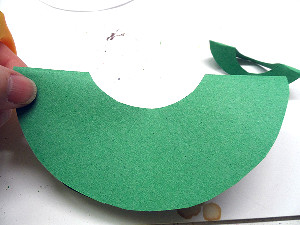
Kiwi- Cut the circle from the green paper, trimming off about 1/2-inch all the way around. Fold the green circle in half and cut an oval from the center at the fold. Unfold and draw seeds on the green paper around the center hole using a brown marker. Attach to the olive green plate using a glue stick.
- Watermelon- Cut the circle from the pink paper, trimming away enough paper to only cover the center of the green plate. Attach to the center of the green plate using a glue stick then cut the plate in half. Draw seeds using a brown marker.
Read NextRainbow in a Jar