DIY Doll Hair Tutorial

If you love to make your little boy or girl their own dolls then you will love this super easy DIY Doll Hair Tutorial. Whether you are making homemade ornaments, or toys, this doll hair tutorial is unbelievably easy. Follow along with this craft video and see exactly how you can make a perfect head of hair for any doll you could imagine. Plus, this yarn wig is such an easy project that any kinds of any age could totally join in and help with it, permitted that you help them with using the scissors!
Estimated CostUnder $10
Time to CompleteUnder an hour
MaterialsYarn

Project TypeMake a Project
Materials List
- Yarn
- Cardboard
- Scissors
DIY Doll Hair Tutorial
Yarn Wig Instructions
-
Take your yarn and place it at the end of your piece of cardboard.
Note: Make sure to adjust the size of your piece of cardboard to coincide with how long you want your doll hair to be. -
Begin to wrap the yarn all the way around your cardboard. The more times you wrap your yarn the thicker the hair will be, and the fewer times the thinner it will be.
Pro Tip: It makes it easier for you to end wrapping your yarn at the same end you started it on. -
Trim off the end of your yarn. Slide off all of the pieces of yarn off of your cardboard.
-
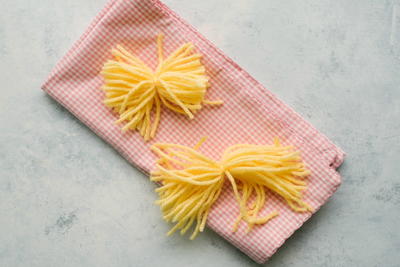
Wrap a piece of scrap yarn around the center of your yarn, and tie a really tight knot.
-
Use your scissors to cut the loops your just made in half.
-
Flip your hair cluster on the head of your ornament or doll, and part your hair the way you would like it. Then, sew the hair in place.
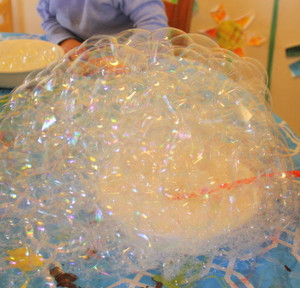
Read NextSuper Balloon Juggling Balls