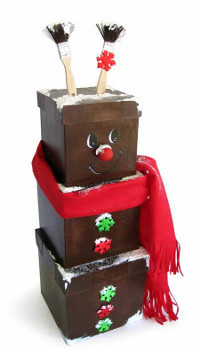
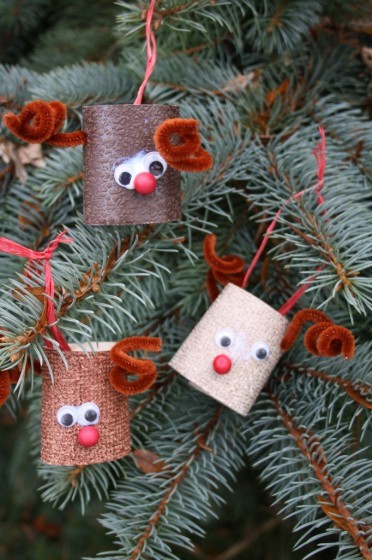
Frosted Reindeer Boxes
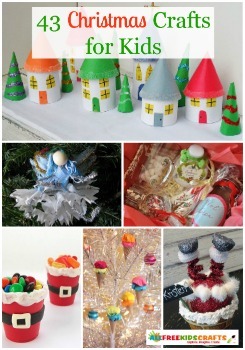
Make Rudolph the red-nosed reindeer the subject of your homemade Christmas decorations and your holiday will be full of glee. Reindeer crafts are always cute, but the Frosted Reindeer Boxes craft takes them to the next level. With the adorable paintbrush antlers and cozy scarf, this reindeer project will go down in history. Give this precious pal as a gift or keep the fun all for yourself. Cozy up like Rudolph as you craft this darling project by a warm fire with your family. Spread Christmas cheer with Christmas crafts for kids!

Materials:
- 28-9262 DCC’S SET OF 3 - PAPER MACHE LG SQ. BOX W/RUSTY CORNERS
- 27-3601 - 1 EA. DCC’S WOOD BALL FEET
- 47-6316 - 3 EA. DCC’S - 2“ PUFFY SHAPE SNOWFLAKES GREEN
- 47-6308 - 3 EA. DCC’S - 2” PUFFY SHAPE SNOWFLAKES RED
- 6x36” STRIP OF RED FELT FOR SCARF
- ACRYLIC PAINT PALETTE: BROWN
- DECO ART SNOW TEXTURE PAINT
- PERMANENT MARKERS: BLACK, WHITE
- CRAFT GLUE THAT DRIES CLEAR
- Crystal glitter
- 2 each – 1” or 1 ½” China Bristle paint brush to be used for the reindeer’s antlers
- General painting supplies
- Awl or Ice Pick
Instructions:
-
BRUSH ANTLERS – Dip the bristles of the paint brush into the brown paint. As the paint dries spread out the bristles. Keep working the bristles until you have them wide spread. Stand them in a jar or glass to dry. Of course, you could use an old worn brush. In that case paint the entire brush brown.
-
Paint the ball nose red.
-
BOXES – paint the boxes brown.
-
FACE – Place the lid on the small box. Using an awl or ice pick, punch a small hole in the center front and screw the red ball into the hole.
-
Use a pencil to draw ovals for the eye, just above and on each side of nose. Draw over the line with your black permanent marker and fill in the oval. Mark and draw a line for the mouth in black. Add a white line highlight along the left side of the eye and mouth. See photo for feature placement. Features can be painted on if you prefer.
-
SNOWFLAKES – Glue alternating red/green snowflakes to the front of the two larger boxes. There are two snowflakes on the medium box and three on the larger box.
-
ANTLERS – Find the center of lid of the smallest box. Measure and mark with a pencil dot 2” in from the outside edge on each side of the lid. Using an awl or ice pick, punch a small hole directly over the pencil dot. Using a craft knife make a small ½” slit, starting at the hole and pulling the knife horizontally toward the center. Push the wooden tip of the paint brush antlers into the slit. Antlers should stand in place without gluing. Note the designer only pushed the antlers down as far as the bottom of hole in the brush handle. She didn’t glue the antlers in so that she could remove them and place them inside the small box for storage after the holidays.
-
SNOW – Stack your decorated boxes with the smallest one on top. Add white snow to all the corners of the box lids letting some of it run down. Add snow to the tips of the antlers, nose and tops of the red/green snowflakes. While snow is still wet sprinkle all snow areas with crystal glitter.
- RED FELT SCARF – cut a 6”X36” piece of red felt. Clip ¼” strips 6” long for the scarf fringe. Tie the red felt scarf around the reindeer’s neck.
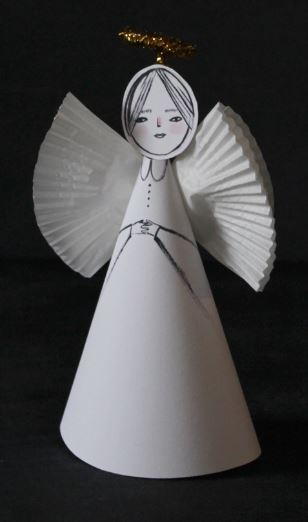
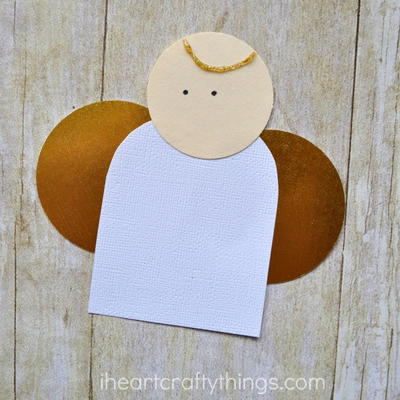
Read NextBudget-Friendly Paper Angel Craft