Unbelievably Cool Owl Tote

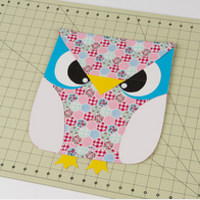
Learn how to make a bag that will really wow the crowd with this amazing duct tape craft. The Unbelievably Cool Owl Tote is right on trend, which makes it the perfect bag to take to school or the mall. Teens and preteens will love making their own bag and showing it off to all their friends. While the Unbelievably Cool Owl Tote looks intricate, it’s surprisingly simple to make. Duct tape crafts like this one are sure to impress.
Materials List
- Duck Tape®
- Duck Tape® Sheets
- Scissors
- Ruler
- Self-adhering hook and loop fastener
- Crafting board
Instructions
-
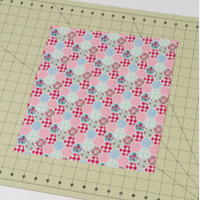
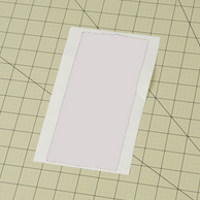
For the body of the bag, create a piece of Duck Tape® fabric that measures 12 in. wide and 13 in. long.
-
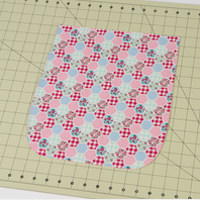
Using scissors, round off the bottom edges of the piece of fabric from step 1.
-
Repeat steps 1-2 to create the other side of the bag.
-
Using small pieces of Duck Tape® along the sides, tape the 2 pieces of fabric together. Keep the top open.
-
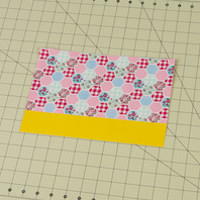
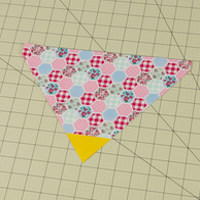
To create the flap for the bag, make a piece of Duck Tape® fabric that measures 12 in. wide and 7 in. long and add a strip of color Duck Tape® to the bottom for the beak.
-
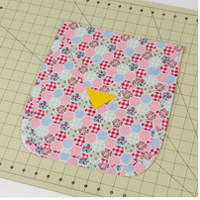
Cut into a triangle so that the color Duck Tape® strip is at the bottom point of the triangle to form the beak.
-
Attach the flap to bag. Add a hook and loop fastener to the backside of your flap and where it meets the front of the bag to secure it down if desired.
-
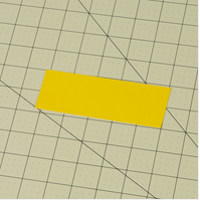
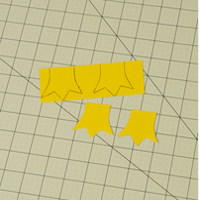
To create the feet, make a piece of Duck Tape® fabric that is 1 strip wide and 5.5 in. long.
-
Draw and cut out 2 feet onto the fabric.
-
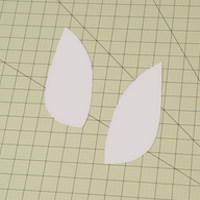
For the wings, lay out 2 strips of Duck Tape® that slightly overlap. You can place these on wax paper if desired.
-
Draw and cut out your wing on the strips you made in step 10.
-
Repeat steps 10-11 to make a second wing.
-
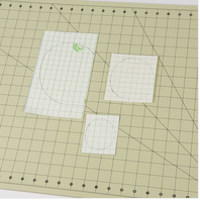
To make the layers for your eyes, draw 3 shapes on the back of Duck Tape Sheets. Make an oval that is 6 in. long and 4.5 in. wide, a circle that is 4 in. in diameter and another that is 2.5 in. in diameter.
-
Place your larger circle on top of the oval shape.
-
Place the smallest circle on the top of your piece from step 14. You can add a tinier circle in the corner if desired.
-
Repeat steps 13-15 for the second eye.
- Attach the eyes, wings and feet to the bag you created in step 4.
-
Attach a strap to your bag using a double sided strip of Duck Tape® or create your own unique handle!


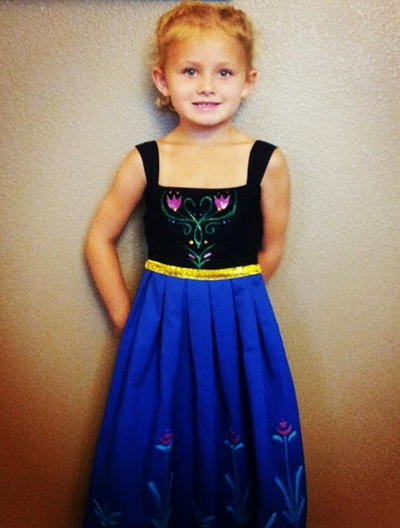
Read NextPrincess Anna Dress Tutorial