Easter Bunny A-Hiding Artwork

In these Easter crafts, you can see the Easter Bunny secretly hiding Easter eggs in the garden. If you watch carefully, you might even see him wiggle his tail in this Easter Bunny A-Hiding Artwork. Add some flowers to these Easter crafts for kids, and you'll have a whole garden for him to hide his eggs. The more flowers you add to these Easter arts and crafts, the more places he will have to hide the eggs. Let's hope he will leave a lot of eggs in these Easter crafts for preschoolers!
Estimated Cost$21-$30
Time to CompleteIn an evening
Primary TechniquePainting

SeasonSpring
HolidayEaster
Age GroupPreschool & Kindergarten, Elementary School
Materials List
- A4 sized light blue marbled cardstock
- 10mm pink pom-pom
- A5 sized colorful cardstock
- A5 sized pink sugar paper
- Piece of white cotton filling
- 9 10mm wide clear crystal rhinestone flower stickers
- 1 medium sized raw potato
- Pearl pink acrylic paint
- Quick-drying craft glue (such as Bostik Clear)
- Felt-tip pens in the following colors: blue, light green, dark green, and yellow
- Large petal palm punch from XCut, code XCU 261811
- Paintbrush
- Sharp knife
- Newspaper to protect the working area
Instructions
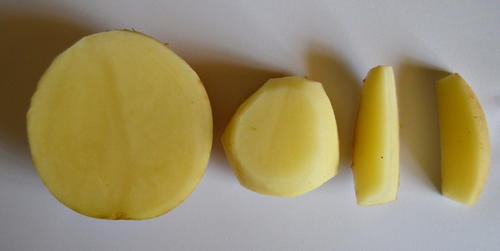
-
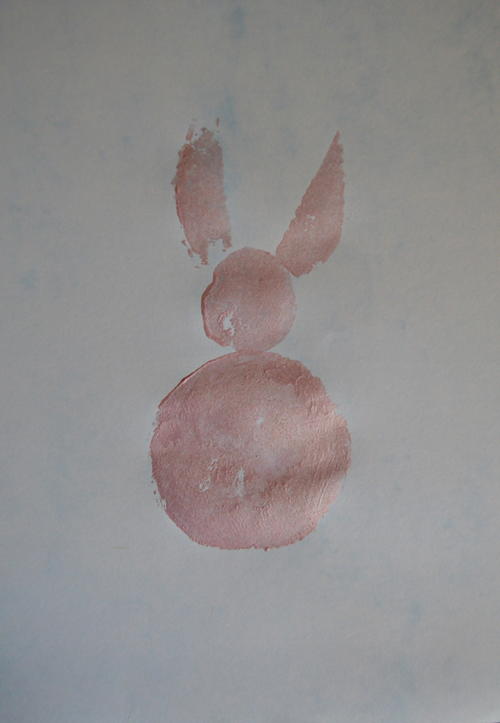
This step should be done by an adult: Cut the potato in half. Shape the one half to form the bunny's body. From the other half, cut a circle for the head and two ears. Blot the bunny's body parts on the newspaper - now it is ready for printing!
-
Use the paintbrush to cover the bunny's potato body with the pearl pink paint. Place it on the lower half of the A4 cardstock and press down to print the body onto the cardstock.
-
Add paint to the potato circle and print it above the bunny's body.
-
Paint the ears and print them to the sides of the bunny's head.
-
Glue the pom-pom in place to make the bunny's tail.
-
Use a combination of the felt-tip pens to draw some grass all around the bunny.
-
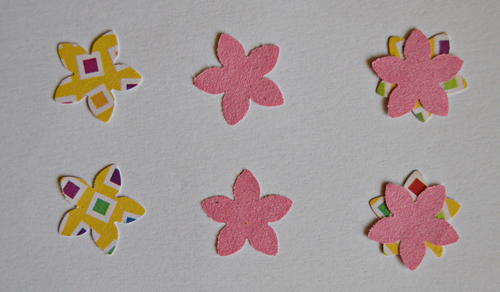
Depending on the child's age, this step might require some help from an adult: Punch nine flowers from the colorful cardstock and nine from the sugar paper.
-
Add glue to a cardstock flower. Put a sugar paper flower on top and press down so that the glue will stick the two flowers together.
-
Glue the flowers in random places all around the bunny.
-
Glue a rhinestone flower sticker to the center of each paper flower.
-
Glue small pieces of cotton filling around the bunny's head to add clouds to the sky.
Read NextCharming Chick Easter Basket