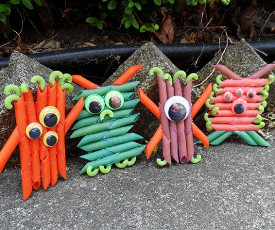
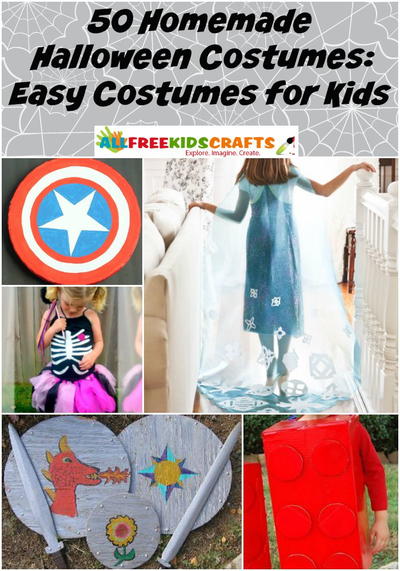
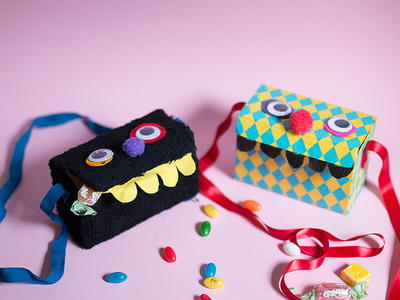
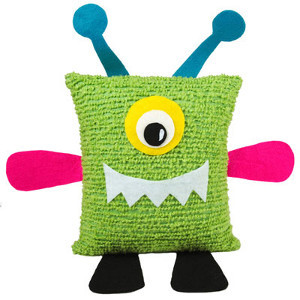
Precious Pillow Monster Stash Buster
Get comfortable with monsters, literally. The Precious Pillow Monster Stash Buster is an adorable addition to any room, and it's fairly simple to put together. Use this (hardly) menacing man as a decoration during Halloween, or keep him out all year round for a fun touch. Learn how to make a pillow while you add color and pizzazz to your bed. Scrap busters are inexpensive ways to craft awesome projects.

Materials:
- Aleene's® Fabric Fusion® Permanent Dry Cleanable Fabric Adhesive
- Sewing machine
- Sewing needle
- Thread
- Pillow form, 16” x 16”
- Felt: fuchsia, yellow, turquoise, white, black
- Straight pins
- Scissors
- T-shirt, adult large, lime
- Paper towels
- Fuzzy yarn, lime
- Wax paper
- Pattern 1
- Pattern 2
Instructions:
-
Cut sleeves from shirt. Cut up one side of shirt, creating a long strip of fabric.
-
Lay strips of wax paper equal to length of fabric, onto work surface. Lay fabric right side down onto wax paper.
-
Run a thin line of Fabric Fusion along hemmed edge of fabric. Press yarn into glue. Cut yarn even with end of fabric. Repeat procedure, placing lines of glue a scant ½” apart and working over armhole openings, until fabric is covered with yarn. Let dry 30 minutes. Carefully turn wax paper over. Remove wax paper. Let dry thoroughly.
-
Pin patterns onto desired color of felt. Cut out number indicated. Some pieces will be double thickness for sturdiness.
-
Lay a paper towel onto work surface. Squeeze thin lines of Fabric Fusion onto one side of a felt piece. Use finger to smooth glue to a thin, even layer, over entire piece, to edges. Press matching section into place. Smooth with fingers. Repeat procedure for all double thickness pieces. Let dry thoroughly. Trim edges if needed.
-
Cut fabric in half crosswise, creating two squares. Pin fabric right sides together. Pin pattern into place. Cut out. Remove pins.
-
Pin squares together so that lines of yarn run horizontally. Pin antenna into place at top of square, arms onto sides and feet at bottom, placing bottom of piece at cut edge of square and top of piece toward center of square.
-
Machine stitch a ½” seam around all sides.
-
Cut a 7” long slit between two strips of yarn on one side of pillow. Insert hand through slit. Carefully remove all pins holding pieces in place. Trim seams and corners. Carefully turn inside out, pushing out corners with finger.
-
Carefully insert pillow form. Enlarge slit if needed.
-
Thread needle with double strand of thread. Whipstitch opening closed.
- Arrange sections for eye. Glue into place. Glue eye and mouth onto pillow. Let dry.
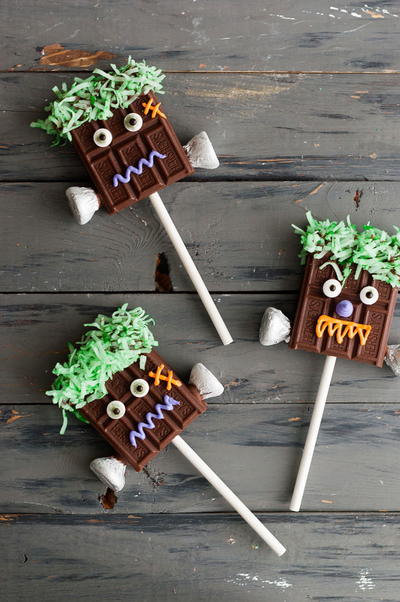
Read NextScarily Thrifty Monsters
Your Recently Viewed Projects
Thanks for your comment. Don't forget to share!
Report Inappropriate Comment
Are you sure you would like to report this comment? It will be flagged for our moderators to take action.
Thank you for taking the time to improve the content on our site.