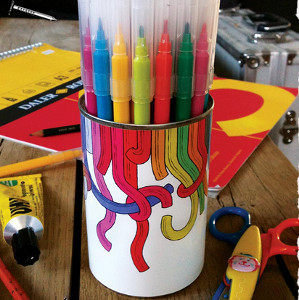
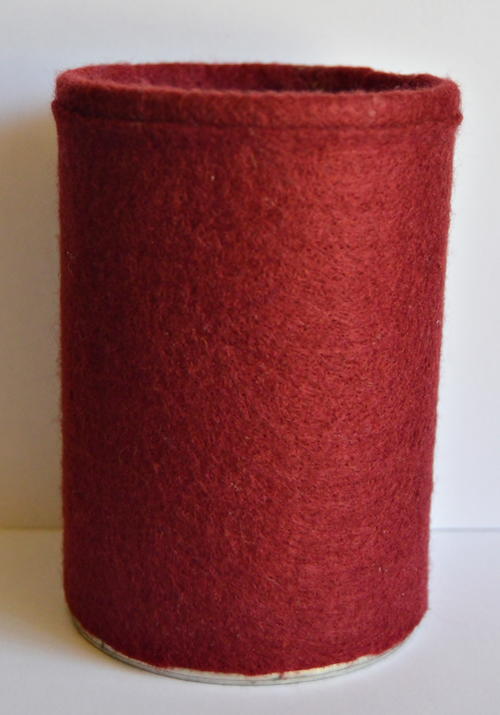
Scratch Art DIY Pencil Holder

These scratch art ideas will surely wow your friends, and they'll be wondering how you managed to make something so cool! Use felt and a piece of scratch art paper board to turn an empty tin can into a super cool Scratch Art DIY Pencil Holder. This easy scratch art is fun to make, and older kids should be able to do it without assistance from an adult. These completed back to school crafts can be a nice addition to a study area. They can also be great gifts for a favorite teacher.
Estimated Cost$11-$20
Time to CompleteIn an evening
Primary TechniqueGeneral Crafts

Age GroupPreschool & Kindergarten, Elementary School
Materials List
- Empty tin can
- Maroon felt, enough to cover the tin can
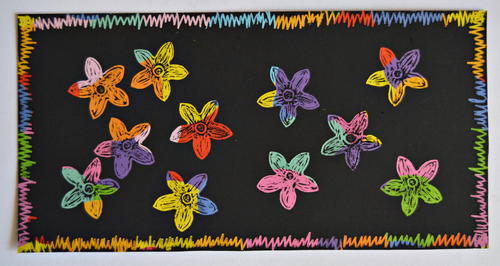
- 6.7" x 3.4" multicolor scratch art paper board
- Wooden bamboo skewer
- Small floral stencil
- Quick-drying craft glue (such as Bostik Clear)
- Quick-drying matte spray varnish
- Standard scissors
- Pencil
Instructions
-
Wash and clean the tin can and allow to dry thoroughly. An empty can that contained crushed pineapple works well for this project.
-
Measure and cut a strip of 1" wide from the felt and glue it over the top edge of the tin can. This will make the completed pen holder look neater.
-
Measure the size of the tin can - this step might require assistance from an adult:
Measure the distance between the upper and lower lips of the can. Also measure the can's circumference. Draw a strip matching the tin can's size on the maroon felt. -
Cut out the felt strip and glue it around the tin.
-
Place the stencil on the scratch art paper board and use the pencil to lightly trace a small flower onto the paper board. Repeat until enough flowers have been traced onto the paper board.
-
Use the bamboo skewer to scratch over the pencil lines and to add more detail to the flowers.
-
Scratch out a stitched border around the piece of paper board.
-
Spray the piece of paper board with a quick coat of varnish and allow to dry.
-
Glue the piece of paper board to the tin can. Tip: An adult might need to add a drop of Super Glue to each corner to glue them down.
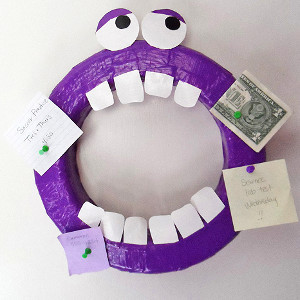
Read NextMonster Wreath Organizer