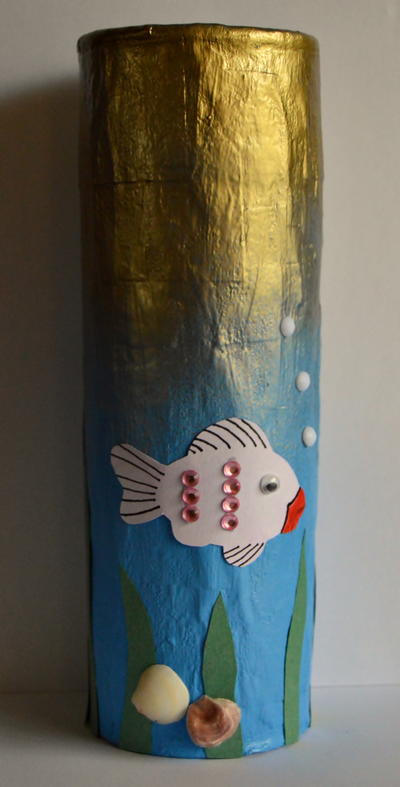
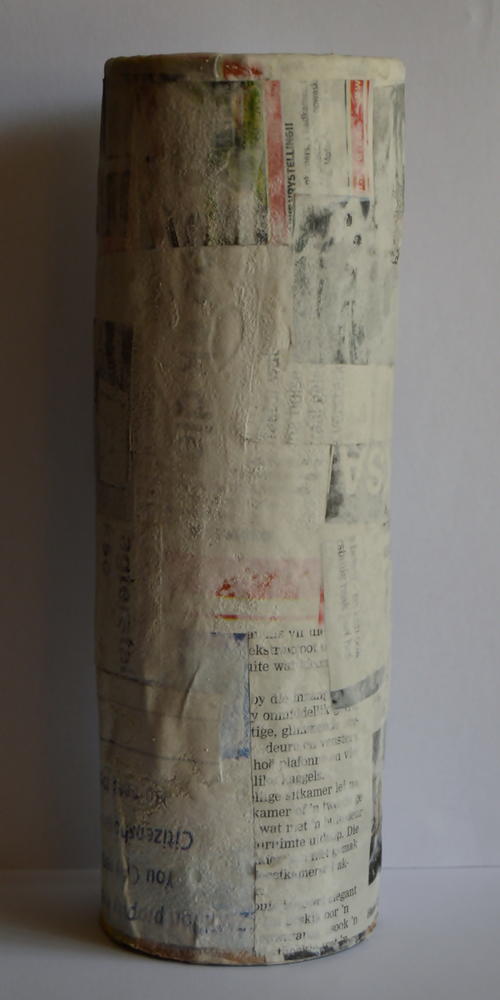
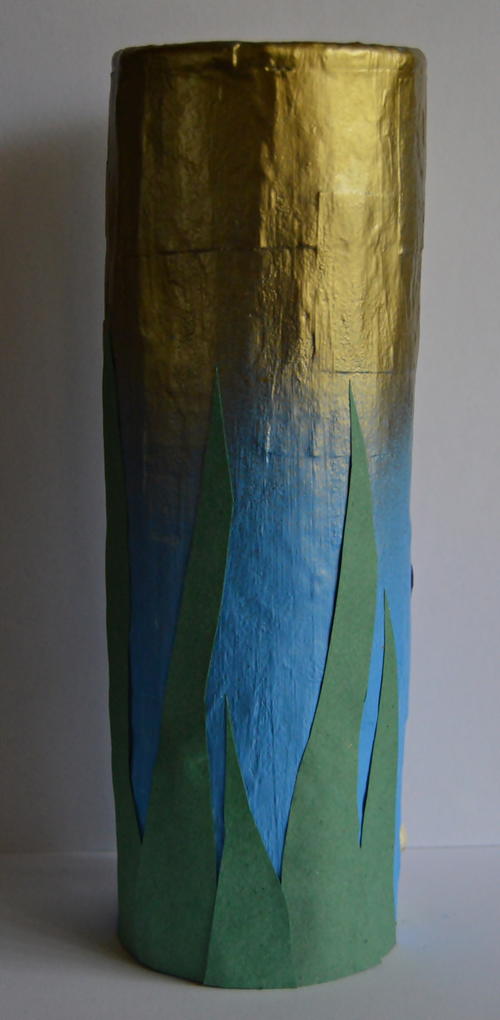
Upcycled Sea Aquarium DIY Vase

Turn an empty Pringles can into a sea aquarium with the fun of flower vase painting - a great way to celebrate the summer season! Display this Upcycled Sea Aquarium DIY Vase with some artificial flowers and add a nice decor element to your room. This DIY flower vase is completed over several days, as the paper mache requires drying time in between layers. This makes these upcycled crafts more suitable craft for older children, and it can also work well in an art class. Who knew that the recycling bin was such a treasure trove of crafting materials?
Estimated Cost$31+
Time to CompleteWeekend project
Primary TechniqueMixed Media

SeasonSummer
Age GroupElementary School, Pre-Teens, Teens
Materials List
- To make the paper mache glue: 1/2 cup of flour, 1/2 cup of water, 2 tablespoons salt, mixing bowl and wooden spoon
- Empty large Pringles can
- Sheets of newspaper
- Leftover piece of cardstock for the body of the fish
- A4 sheet of dark green sugar paper
- 5mm googly eye
- Seven small pink flat-sided rhinestones
- Three 5mm multifaceted pure white rhinestones
- Two small seashells
- Royal blue acrylic paint
- Quick-drying green gold spray paint
- Quick-drying matte spray varnish
- Quick-drying craft glue (such as Bostik Clear)
- Fish-shaped cookie cutter from Tescoma 630902
- Standard scissors
- Paintbrush
- Felt-tip pens: red and black
- Pencil
Instructions
-
Mix the flour and water well to get rid of any lumps. Add the salt and mix again - the salt will prevent mold forming on the artwork.
-
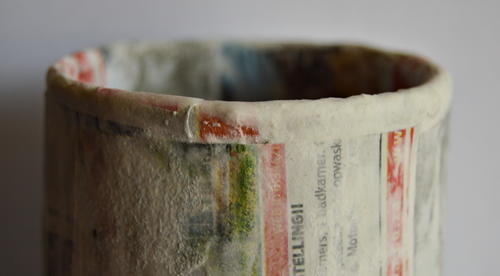
Cut the newspaper into strips. Dip one side of a newspaper strip into the paper mache glue. Turn it over and do the same with the other side. Then, pull the strip between your thumb and index finger to remove any excess glue. Apply the strip to the Pringles can. Use your finger to smooth it down and to remove any air bubbles.
-
Add the rest of the strips in the same way. The strips need to be overlapping. Once the whole can has been covered with a layer of newspaper strips, allow to dry for 24 hours.
-
Add a second and third layer in the same way, every time allowing it to dry for 24 hours before continuing. For a neater finish, also glue newspaper strips over the top edge of the can.
-
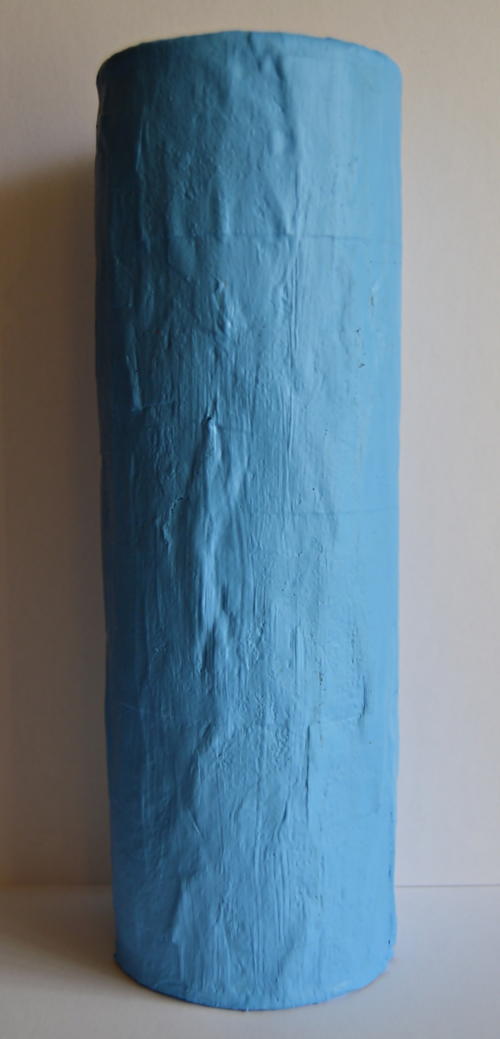
Paint over the paper mache with the royal blue paint and allow to dry thoroughly.
-
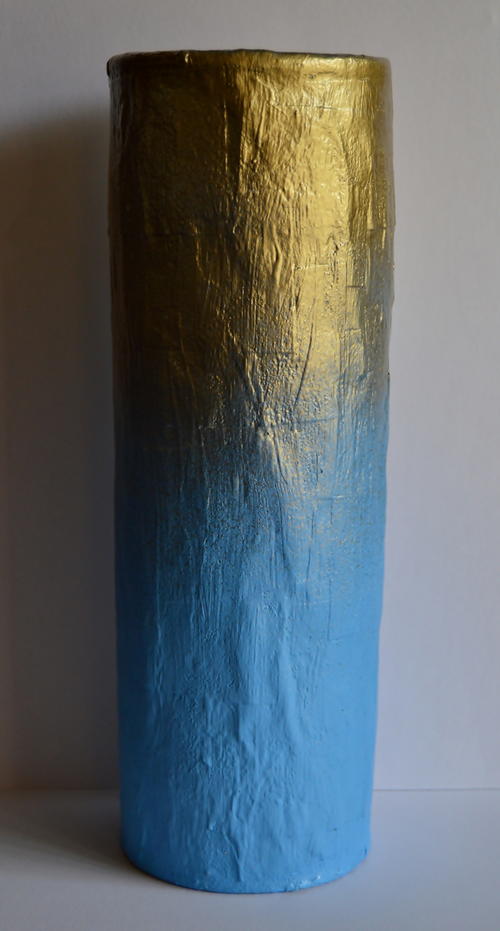
Spray the top of the can with the green gold spray paint and allow to dry thoroughly before continuing.
-
Place the cookie cutter on the piece of cardstock and use the pencil to trace all around it. Lift the cookie cutter and cut the traced fish out.
-
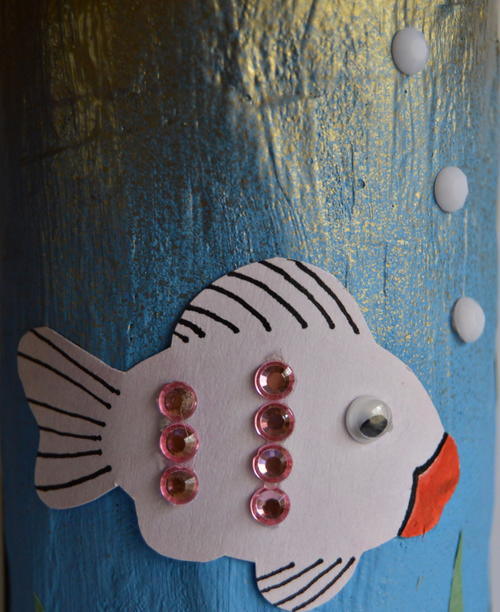
Glue the 5mm googly eye in place and use the felt-tip pens to add some detail to the fish.
-
Glue the fish onto the can. Use your finger to gently smooth it down. Glue the pink rhinestones to the body of the fish.
-
Glue the pure white rhinestones close to the mouth of the fish to add air bubbles.
-
Cut seaweeds from the dark green sugar paper and glue them around the bottom of the can. Use your finger to gently smooth each seaweed down.
-
Glue the seashells in place.
-
Spray the can with a layer of varnish and allow to dry thoroughly.
-
Display the completed vase with artificial flowers.
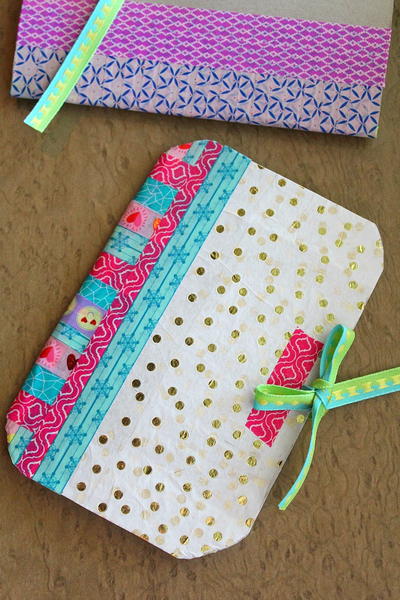
Read NextRecycled Cereal Box Notebook