This project was submitted by one of our readers, just like you.
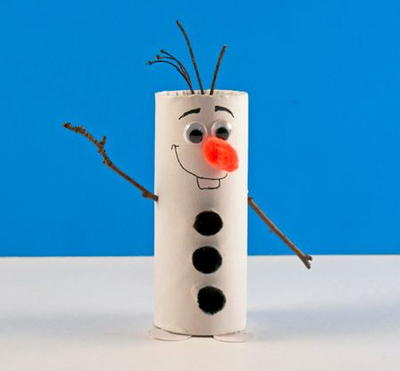
Olaf Paper Craft

Olaf Paper Craft
From the blogger: "Do your kids want to build a snowman? If so, this is the perfect winter craft for you. Whether it is snowy outside and you're needing a cozy indoor activity or it's just to get your family in the holiday spirit - there is nothing that Olaf cannot make fun! It is a step away from the normal entertainment for the kids and a great way to spend time together as a family! With laughs, smiles, and warm hugs this Olaf project is sure to become a fun family memory!"
Primary TechniquePaper Crafts

Materials List
- Construction Paper
- Paper plate
- Popsicle stick
- Sharpie
- Craft Glue
- Pencil
- Scissors
Instructions
-
Start by collecting the colors of construction paper needed for this craft. You will need one sheet each of off-white or white, orange, brown, black, and grey construction paper. Trace the template patterns on the appropriate colored craft papers. Once all of the patterns have been traced, grab your scissors and cut the pieces out nicely.
-
Start assembling some of the pieces. First, glue the teeth cutout to the top-middle part of the mouth cutout. Next, glue the twig hair cutout onto the top side of the head cutout. Add the buttons to Olaf’s body by gluing one button cutout on the small upper body cutout. Then attach the two other buttons on the big lower-body cutout.
-
Glue the nose (or carrot) and the mouth patterns onto the head cutout.
-
Next, attach the eyebrows and the eye cutouts on the top part of the head.
-
Piece together the body by gluing the two body cutouts together. Make sure to keep the smaller one on the top and have it slightly overlapping the bigger body piece. Next, glue the two leg cutouts on the bottom side of the lower body part.
-
Next, glue the head pattern on the top side of the upper body pattern. If you put the head at an angle, it creates more fun and expression to the overall look.
-
Attach the twig arm cutouts on both sides of the body pattern.
-
Attach the papercraft Olaf figure to a popsicle stick. Make sure to glue the head part only, keep the rest of the body free from glue.
-
Take a paper plate and cover the inner-bottom surface of the plate with blue colored craft paper. Get creative with this to make a fun background for your Olaf puppet. Cut a 4 inches slit along the side of the plate, adjacent to the bottom surface. Attach a half circular paper cutout on the blue paper of the plate and keep the half-circular paper right above the slit. Keep the top side of the half-circular paper open.
-
Next you will insert the papercraft Olaf through the slit and bring the bottom half of the body pattern to the front side of the half-circular part. Keep the popsicle stick outside the slit so that you can move the puppet with the stick.
-
Enjoy your completed Olaf Papercraft! Move the outer part of the popsicle stick to make the papercraft Olaf puppet move.

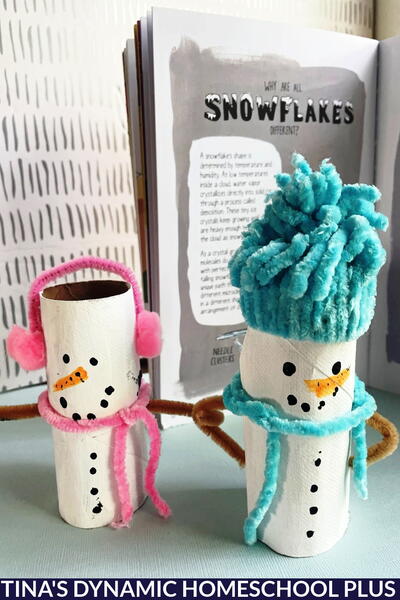
Read NextAdorable Toilet Roll Snowman