Softie Sock Bunny Ragdolls

If you're missing out on a constant cuddle buddy, you should sit down and craft Softie Sock Bunny Ragdolls from Fiskars. These adorable recycled material crafts are so soft and squishy that you won't want to let them go. This is the perfect project for those little crafters who are just learning to sew. Once you get really good, you'll be able to make softies daily, and they'll make great gifts. Make one of these bunny buds for Easter or a few as adorable decorations.

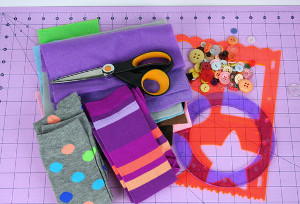
Materials List
- Knee-High Socks
- Buttons
- White Twine
- Embroidery Floss
- Needle
- Craft Felt
- Polyfil Stuffing
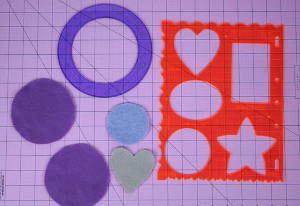
- Shape Templates – "Mixed Shapes and Mixed Borders", "Super Sized Circles", "Super Sized Ovals"
- Sharp scissors
- Pencil or marker
Instructions
-
For the face pieces, trace and cut two circles onto one color of felt using the inside of the smallest circle from the super sized circle package.
-
Trace and cut a heart and a circle from a contrasting, but coordinating color of felt.
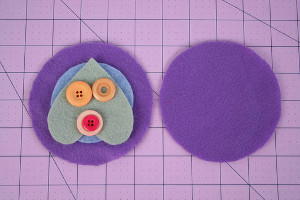
-
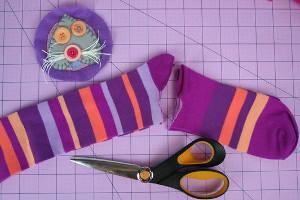
Arrange face pieces as shown and choose which color buttons and embroidery floss will best coordinating with your socks and felt choices.
-
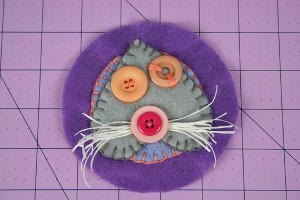
To create the face detail, center the smaller circle in the middle of one of the larger circles and pin. Then embellish around the outer edge of the small circle with a blanket stitch. Layer the heart, upside down, over the circle and embellish with a blanket stitch.
-
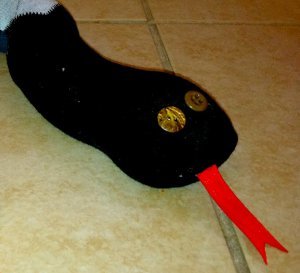
Add more detail by cutting several 3” lengths of white twine and stitching them on for the whiskers in addition to buttons for the eyes and a set of layered buttons for the nose.
-
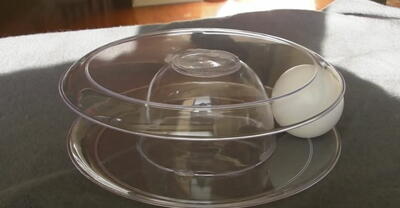
Lay your pair of socks on your work surface and cut off the bottom of the socks just below the heel. These pieces will become the bunny’s ears.
-
Turn each sock inside out and sew a seam. Start at the outer edge of each side of the toe seam and gradually taper inward leaving a 1” width opening at the bottom. (See black marker lines in the photo as a guideline.)
-
Turn socks inside out and stuff with stuffing.
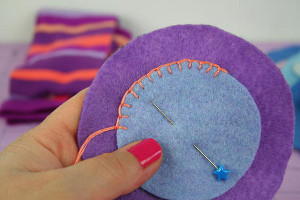
-
Sandwich the open seams in between the front embellished piece of the face and the plain back piece. Pin in place. Then blanket stitch ¼” in from the edge all the way around making sure to stuff the face with stuffing before stitching it completely closed.
-
From the remaining sock pieces, cut off the fabric just below the band and just above the ankle. These pieces will become the bunny’s arms and legs.
-
Turn the socks inside out and sew one straight line down the length of the sock slightly to the left of center, rounding the seam out toward the outside edge. Repeat again slightly to the right of center, rounding the seam out toward the right outside edge.
-
Trim the pieces apart between the middle seams.Turn right side out and add desired amount of stuffing.
-
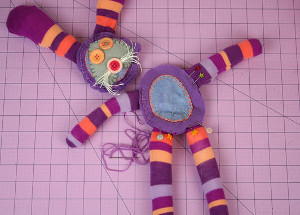
For body, trace and cut two ovals from the smallest inside oval in the super sized ovals package. For the inside of the belly detail, trace and cut the oval from the mixed shapes and mixed borders package.
-
Add hand-stitched embellishing using a blanket stitch.
-
Sandwich arms and legs between the two belly pieces, and add a blanket stitch, ¼” from the outside edge all the way around making sure to stitch the arms and legs in place as you go. Before closing the seam completely, add stuffing to the belly.

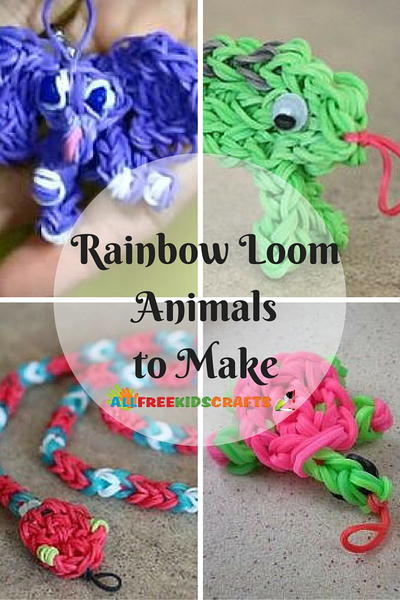
Read Next13 Rainbow Loom Animals
Your Recently Viewed Projects
Thanks for your comment. Don't forget to share!
Report Inappropriate Comment
Are you sure you would like to report this comment? It will be flagged for our moderators to take action.
Thank you for taking the time to improve the content on our site.