This project was submitted by one of our readers, just like you.
Paper Cup Bat Craft

Paper Cup Bat Craft
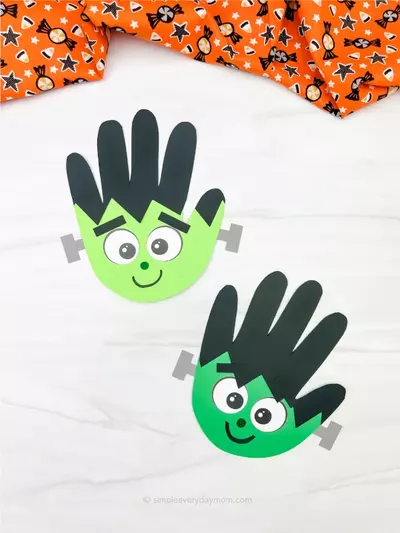
"Are you looking for a fun and easy Halloween craft project for your family? Look no further than the paper cup bat craft! This simple craft can be made in minutes, and kids of all ages will love it. So gather up some supplies and get started today! Supplies Paper Cup Scissors Construction Paper Pencil Craft glue Sharpie or gel pen Acrylic paint Paintbrush Select a paper cup; we’re using the short ones. Decide a color for the paper cup bat and prepare a thick acrylic paint. Apply a coat of the selected acrylic paint on the outer surface of the paper cup and allow it to dry completely. Apply a second coat if necessary. Select craft paper for the bat craft, we’re using grey, black, white and pink colored craft papers. The template includes 2 big wings, 2 small wings, 2 inner ear patterns, 2 outer ear patterns, 2 eyes, 2 fangs and a mouth. Attach the small wing cutouts on the big wing cutouts and attach the inner ear cutouts on the outer ear cutouts. Attach the fang cutouts on the mouth cutout. The closed end of the paper cup will be the top side of the paper cup bat. Attach the 2 ear patterns on the top side, side by side. Attach the eyes and mouth patterns on the paper cup, below the ear patterns. Make thin folds along the straight sides of the wing patterns. Apply glue along the folded parts. Attach the glued side of the wings with the paper cup to complete the paper cup bat. Tips and Tricks Use them as Halloween decorations. Make a handful and place them around your house for some cute and spooky decor. Get silly with googly eyes! Use googly eyes instead of the eyes on the template. It will add some goofiness to your bat! Make different faces. Make your bats unique by giving them unique faces. Change the eyes, smile, or fangs to make your own special bat. "
Primary TechniquePaper Crafts

Materials List
-
Paper Cup
Scissors
Construction Paper
Pencil
Craft glue
Sharpie or gel pen
Acrylic paint
Paintbrush
Instructions
-
Select a paper cup; we’re using the short ones. Decide a color for the paper cup bat and prepare a thick acrylic paint.
-
Apply a coat of the selected acrylic paint on the outer surface of the paper cup and allow it to dry completely. Apply a second coat if necessary.
-
Select craft paper for the bat craft, we’re using grey, black, white and pink colored craft papers. The template includes 2 big wings, 2 small wings, 2 inner ear patterns, 2 outer ear patterns, 2 eyes, 2 fangs and a mouth.
-
Attach the small wing cutouts on the big wing cutouts and attach the inner ear cutouts on the outer ear cutouts. Attach the fang cutouts on the mouth cutout.
-
The closed end of the paper cup will be the top side of the paper cup bat. Attach the 2 ear patterns on the top side, side by side.
-
Attach the eyes and mouth patterns on the paper cup, below the ear patterns.
-
Make thin folds along the straight sides of the wing patterns. Apply glue along the folded parts. Attach the glued side of the wings with the paper cup to complete the paper cup bat.

Read NextName Turkey Craft For Kids