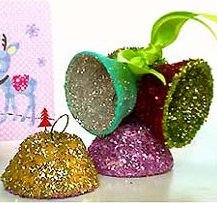
Holiday Pencil Toppers
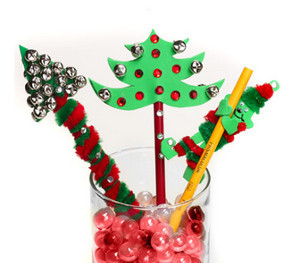
Bring a little Christmas cheer with you when you go to school with these adorable Holiday Pencil Toppers. You could easily make these kids' Christmas crafts for all your friends and classmates, and since there are three different kinds of Holiday Pencil Toppers you can make, you can make sure everyone gets something special. These festive Christmas crafts for kids are a simple and easy way for you to get into the holiday spirit. You can add jingle bells for even more fun.

Materials:
- Scribbles® 3D Paint- Black (54139)
- Aleene's® Quick Dry Tacky Glue™
- Tulip® Glam-It-Up!™ Iron-On Crystals™
- Aurora Borealis (31745)
- Miscellaneous
- Bells, small silver
- Pipe cleaners: green, red
- Scissors
- Paper, scrap
- Paper clips, bull nose
- Pencils: red, yellow, green
- Wiggle eyes, small
- Masking tape, low tack
-
Foam sheet, green, lime green
Instructions:
Crystal Tree
-
Trace tree pattern on paper with pencil. Cut out pattern with scissors.
-
Trace two tree patterns on foam sheet with pencil. Cut out.
-
Apply glue around edge of one tree shape. Sandwich two trees together with top area of pencil between. Use paper clips to hold trees together until glue dries then remove clips.
-
Glue bells to each point on tree on one side. Let dry. Repeat on other side. Let dry.
- Apply a small dot of glue to adhere gems to center of tree. Glue Crystals to pencil.
Elf
-
Trace elf pattern on paper using pencil. Cut out.
-
Trace elf on foam sheet using pencil. Cut out with scissors.
-
Make smile and nose with Dimensional Fabric Paint.
-
Glue on eyes. Let dry.
-
Wrap pipe cleaners around elf, referring to photo, applying a dot of glue at each end of pipe cleaner to secure.
-
Glue a Crystal at top of hat and on boots.
- Apply a small dot of glue to adhere elf hands to yellow pencil. Use tape to hold until glue dries.
Jingle Bell Tree
-
Trace tree pattern on paper with pencil. Cut out with scissors.
-
Trace two trees on foam sheet with pencil. Cut out.
-
Apply a line of glue along edges of tree. Place trees together with green pencil sandwiched between. Use paper clips to hold trees together until glue dries then remove clips. Let dry.
-
Glue bells to one side of tree, referring to photo. Let dry. Glue bells to other side. Let dry.
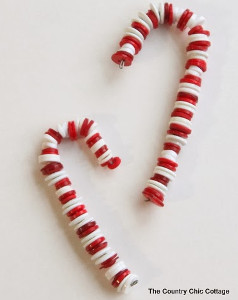
-
Place a dot of glue at one end of pipe cleaners and wrap around pencil, alternating colors. Glue ends to pencil.
- Glue Crystals on pipe cleaners.
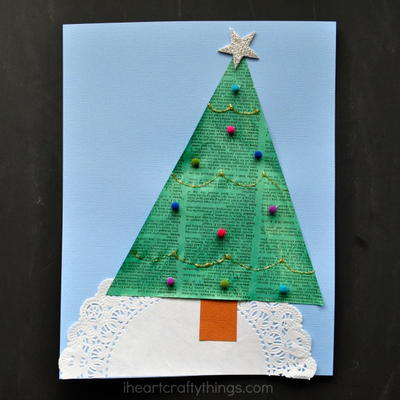
Read NextOld Newspaper Christmas Tree Craft