Paper Village from Paper Rolls
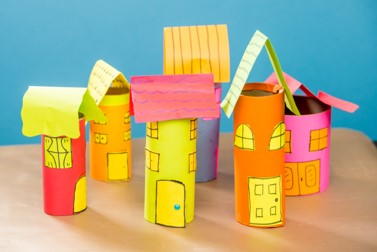
This Paper Village from Paper Rolls is an excellent craft to do with the kids! You most likely have all the materials around the house already. Learn how to take an ordinary toilet paper roll or paper towel roll and transform it into a darling village kids can use for play. If you're looking for a craft to cut down on screen time, or you need something to do on a rainy day, this is such a great option. The more colorful the paper, the brighter the village will be! Enjoy this wonderful recycled craft.
Estimated CostUnder $10
Time to CompleteIn an evening
Main MaterialPaper
Primary TechniquePaper Crafts
Type of Paper UsedConstruction Paper

Project TypeMake a Project
Materials List
- Paper roll
- One piece of coloured paper to cover the roll
- One piece of coloured paper to create a roof for the house
- Once piece of coloured paper for the door and windows,
- One piece of firm cardboard 18”x14” (use 46cm x 36cm)
- Glue
- Markers
- Scissors
Instructions
Video Tutorial
-
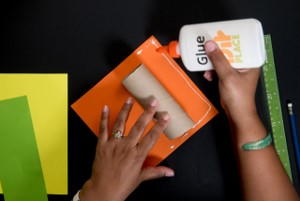
Cover the paper roll with coloured paper, using the instructions at the start of this section.
-
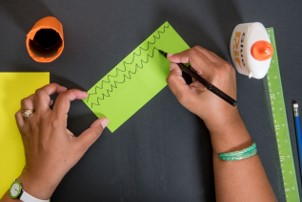
Measure a piece of paper for the roof by folding it in half to from a peak in the middle. Draw lines or patterns on the roof paper.
-
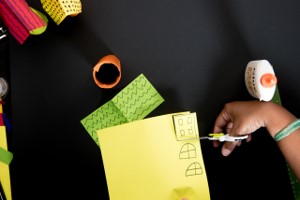
Draw a door and windows on pieces of coloured paper and cut them out.
-
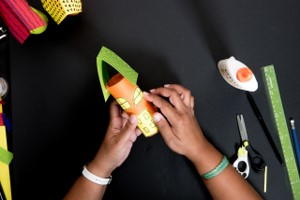
Glue the roof, door and windows to the roll.
Notes
You can create an entire village! Use a piece of firm cardboard 18”x14” (use 46cm x 36cm).
You may even choose to get creative and add trees, children and other interesting things to your village.
You can make modern or ancient cities.
Complete your village with a fire house, a police station, a library etc.'
Visit DIY Place on YouTube for more great tutorials.
Read NextBottle Cap Art Wind Chime

