How to Make Ice Cream in a Bag
Let your kids have a blast combining ice cream and science with this easy DIY recipe.

If your kids are craving a deliciously delightful craft to bust up boredom this summer, then we promise they'll absolutely adore this How to Make Ice Cream in a Bag recipe. This budget-friendly kids' recipe is made from ingredients that you probably have at home, meaning no last-minute trips to the store. Kids of all ages will love experimenting with making their own tasty treats by mixing a few simple ingredients together and shaking them up in a bag. Before they even know it, they'll be enjoying delectable ice cream that they can garnish with their favorite toppings like chocolate syrup, colorful sprinkles, and, of course, a cherry on top.
This DIY kids' craft is perfect for large groups of kids, making it perfect for classrooms, Girl Scout troops, or youth groups. This free craft for kids is an excellent project for elementary students, as it combines a fun hands-on project with beginner science and chemistry. This edible kids' craft teaches kids the chemistry behind ice, salt, and exothermic reactions, making it ideal for teachers. The best part about this easy recipe is that kids can enjoy their yummy desserts after their science lesson. Whether your kids make this cool homemade ice cream recipe at home or school, we guarantee this kids' craft is sure to become a quick favorite.
Estimated CostUnder $10
Time to CompleteUnder an hour
MaterialsFood
Primary TechniqueFood Crafting

SeasonSummer
HolidaySummer
Age GroupPreschool & Kindergarten, Elementary School, Pre-Teens
Project TypeMake a Project
Materials List
- 1/2 cup milk
- 1/2 teaspoon vanilla extract
- 1 tablespoon sugar
- 4 cups crushed ice
- 4 tablespoons Kosher salt
- 2 quart-sized plastic bags
- 1 gallon-sized freezer bag
- Hand towels or gloves to keep freezing from freezing
- Your favorite ice cream toppings!
Mixing Up Your Ice Cream
Making homemade ice cream may seem like a daunting task, but we promise that this DIY kids' recipe is incredibly quick and easy (pinkie swear)! With this free kids' craft, your kids get the excellent combination of a delicious dessert and a cool science project. If you absolutely love this ice cream recipe, be sure to check out our large selection of other edible arts and crafts.
DIY Ice Cream Recipe
-
Combine your milk, sugar, and vanilla extract together in one of your quart-sized bags. Make sure your bag is tightly sealed, with as little air in the bag as possible. Too much air in the bag can cause the bag to open during shaking, so make sure all of the air is squeezed out to avoid any big messes.
-
Place your bag into the second quart-sized bag, again making sure your bag is tightly sealed. This extra precaution helps prevent unncessary messes and this way, you know for sure that the salt and ice won't leak into your yummy ice cream.
-
Place your double-bags into your gallon-sized plastic bag. Then, fill your gallon bag with ice and sprinkle your Kosher salt on top. Close the gallon bag, once again making sure the bag is sealed tightly, with as little air left as possible.
-
Now comes the fun part! Wrap your bags in a towel or let your little ones wear gloves so that their hands don't get too cold. Then, let kids have a blast shaking up their ice cream mixture. Five to ten minutes of shaking should be enough time for your ice cream to harden.
-
All done! Once you're happy with the consistency of the ice cream, remove your mixture from the large gallon bag. Kids can eat their DIY ice cream straight from the bag or they can dish out their dessert in a bowl for a slightly less messy option.
-
Have fun and be creative with your toppings. Kids can top their desserts with traditional chocolate syrup and sprinkles or have fun creating new combinations with candy, cereal, and fresh fruit. Don't forget to add that cherry on top for the ultimate tasty topping.
Lesson Plan Highlights
-
Similar to how salt is put on icy surfaces in winter, the salt in this activity also causes the ice to melt. Whenever salt comes into contact with ice, the freezing temperature of ice is lowered.
-
Salt water is harder to freeze than plain water. This is why a lake with plain water freezes faster than salt water in the ocean. Different types of salt also melt ice at different speeds. Try experimenting with different types of salt, like table salt, rock salt, and kosher salt, to see the difference.
-
As salt melts, the compound NaCl breaks down into two parts, Na (sodium) and Cl (chloride). This process changes the states of matter. The liquid in this experiment changes into a solid.
Tips and Tricks
-
While this kids' craft is perfect for kids of all ages, younger kids should probably have adult supervision while completing this free kids' craft, just to help prevent any potential messes. -
Freezer bags tend to work better with this recipe, as they're made of thicker material and are less likely develop holes and leak.
More Deliciously Fun Ice Cream Crafts


What delicious summer treats do your kids enjoy most? List your favorite edible ideas below in the comments.
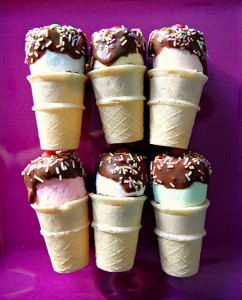
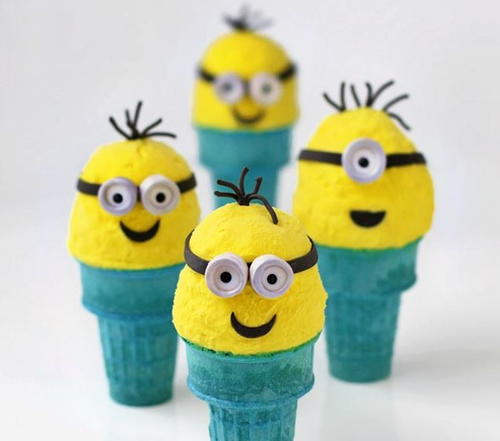
Read NextMini Ice Cream Cone Treats
Your Recently Viewed Projects
Thanks for your comment. Don't forget to share!
KathrynAllison
Apr 13, 2018
I'm so intrigued by this project! I've never considered making ice cream in a bag, but I can definitely see the appeal for both kids and adults. What a perfect activity for a hot summer day!
Elizabeth J
Jul 12, 2017
This is so fun because not only do you get to eat the ice-cream, you get to see how it's made. Very cool craft to do with the little ones. Nothing beats homemade ice-cream for sure!
Weberme
Jul 22, 2016
Who would not like to make their own ice cream to eat and to see the process of it being made. How do you make them different colors? Can you add fresh fruit to them with this process? Do you still use vanilla if you want a different flavor? I must make this Ice cream in a bag with my grand kids because this looks like so much fun. Never knew it was so easy. Thanks for tutorial.
Report Inappropriate Comment
Are you sure you would like to report this comment? It will be flagged for our moderators to take action.
Thank you for taking the time to improve the content on our site.