This project was submitted by one of our readers, just like you.
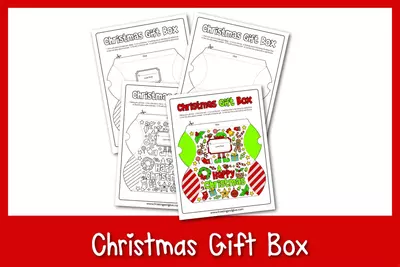
Color Your Christmas Gift Box

Color Your Christmas Gift Box
"Your kids will love easily wrapping their gifts in this adorable Color Your Christmas Gift Box. They can add personal touches as they color to give their thoughtful gift an equally thoughtful wrapping. Let your kids buy and wrap gifts for each other, or wrap a special gift for their friends. They will love seeing their homemade gift box under the tree, and you will love their excitement on Christmas morning, talking all about how they made the gift box themselves. "
Primary TechniquePaper Crafts

Materials List
- Color Your Christmas Gift Box download
- Any extra embellishments you'd like - ribbons, bows, gift tags, etc.
- Coloring tools (markers, crayons, colored pencils, etc.)
- Scissors
- Glue
Instructions
-
It is so simple to create this box. Start by downloading this free printable below.
-
Once you’ve downloaded the sheets, choose which version of the box you’d like to print. I love that there are different versions ranging from a blank box all the way to a detailed Christmas collage. This allows for creative freedom and your kids can customize it however they please!
-
Once you’ve printed your desired sheet, begin coloring! The box also has a convenient to and from section to sign the gift. Feel free to sign this now.
-
Now you can cut out the box along the solid lines. Then carefully fold along the dotted lines. Once that is done, grab your glue and run it along with the indicated tab. Attach it to the backside of the bottom half of the box. This will form a kind of pouch/tube shape.
-
Now your box is assembled and you can fill it with your gifts! Fold over the side tabs to close the box. Add any extra embellishments you want to create a beautifully wrapped gift.

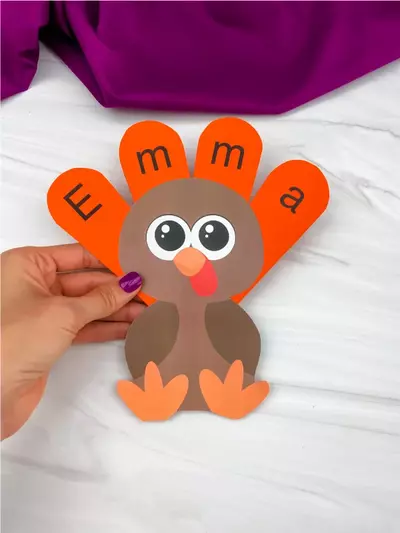
Read NextName Turkey Craft For Kids