This project was submitted by one of our readers, just like you.
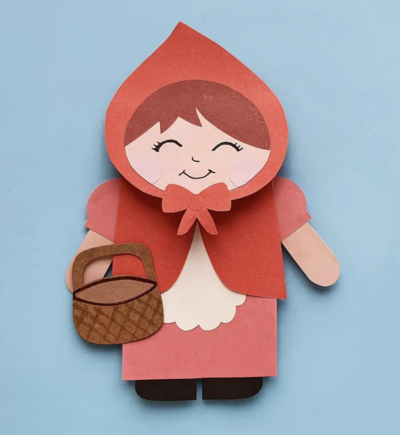
Little Red Riding Hood Paper Bag Puppet

Little Red Riding Hood Paper Bag Puppet
"Do you remember the story of Little Red Riding Hood? I know I do! It was a childhood favorite. Well, now you can make your very own Little Red Riding Hood Paper Bag Puppet of her using just a paper bag and some simple cutting and drawing skills. This is a great project for kids, and it’s super easy with this template. So get out your scissors and markers, and let’s get started! By using a paper bag, scissors, a glue stick, and construction paper watch as your imagination unfolds! "
Primary TechniquePaper Crafts

Materials List
- Paper Bag
- Scissors
- Glue Stick
- Construction Paper
Instructions
-
Select colored craft papers for the little red riding hood papercraft figure. The template includes the head, hair, the top part of the cloak (hood), the body part of the cloak, shoes, arms, sleeves, apron, blush patterns, and a bow. Trace and cut out the patterns from the selected craft papers. You can also cut out a simple basket pattern from brown colored craft paper.
-
Glue the hair cutout along the top side of the head cutout, glue the arm cutouts with the sleeve cutouts (on the straight side), and glue the small round cutout in the middle of the bow cutout.
-
Glue the head pattern on the hood cutout, near the round side of the hood.
-
Glue the bow pattern on the bottom-middle part of the hood. Use a sharpie to draw the face of the papercraft red riding hood figure.
-
Select a brown paper bag or use craft paper to make your own custom sized paper bag. Measure and cut out a piece of paper to cover any one side of the paper bag (this will be the front side of the paper bag).
-
Attach the apron cutout on the prepared paper.
-
Glue the cloak base cutout near the closed side of the paper bag, above the apron pattern.
-
Glue the show cutouts along the open side of the paper bag.
-
Flatten the bottom side of the paper bag with the dress (paper bag) and glue the head pattern on the flattened bottom side of the paper bag.
-
Glue the paper arm patterns on both sides of the paper bag puppet.
-
Attach a paper basket on either hand of the paper bag little red riding hood puppet to complete the craft.

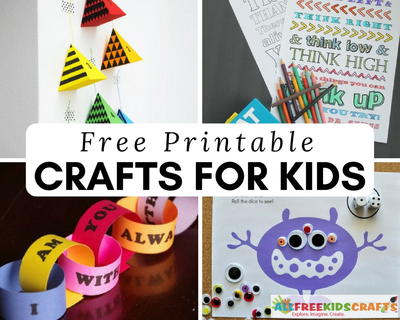
Read Next100+ Free Printable Crafts for Kids