How to Make a School Memory Box + 6 Reasons to Make a Keepsake Box Now

Kids' time at school is spent learning, playing, and growing, which means these are the years you'll want to remember as your kids get older. Thankfully, you'll be flooded with tons of school memorabilia from art projects to awards and tests. But, what's a mom to do with all those papers and art projects? Find out with this guide on How to Make a School Memory Box + 6 Reasons to Make a Keepsake Box Now that will show you exactly how to organize your child's tests, art projects, drawings, team photos, and much more! Making a memory box is the perfect way to store precious memories all in one place so you never lose them.
Say goodbye to pesky piles of paper and never worry about misplacing a priceless childhood memory again by making each of your kids their own DIY school memory box. This how-to will show you how to make an easy and inexpensive memory box that will store your child's mementos from preschool into their high school years. Organizational crafts can be fun to make and great to safeguard your child's most sentimental memories!
6 Reasons You'll Want to Make a Memory Keepsake Box
- School memory boxes are way better than scrapbooks! Memory boxes allow you to hold on to much more than just pictures including trophies, awards, oversized art projects, and any other bulky school memories you can think of. You won't have to keep making new scrapbooks and spending tons of money either!
- It's more organized. You can keep all your child's memories in one convenient box all the way from their grade school years to their teens. Trying to create binders or scrapbooks takes a lot of time, money, and space. A memory box keeps your child's most special memories in an easily accessible and organized place.
- It's easy to start. Creating a system for organizing your memory box is easy. Once you have a system in place, it basically maintains itself. Looking back at old memories won't feel overwhelming if they're organized in one box.
- Get personal! You can make individual memory boxes for each of your kids so they all get their own personal box filled with memories. Have each kid decorate their box for something truly unique and true to their personality.
- Memory boxes make great gifts for graduation. As your kids get older, memories from their childhood will become more important. By starting a memory box now, you can give your kids an invaluable gift at their high school or college graduation they'll cherish well into their adulthood.
- Kids love it! The best part about creating a memory box is allowing your kids to join in on the fun. They'll have a blast decorating their personal box and keeping their schoolwork and projects in a safe place. Kids will love that you find their school activities just as exciting as they do!
What You Need:
- File box
- File folders
- Paper
- Pen
- Glue
How to Make a Memory Box in 5 Easy Steps
-
Gather your supplies. You'll need a file box for each child and one file folder for each of your child's years in school. For example, if your child is in 1st grade you'll need 3 folders for preschool, kindergarten and their current year. For each additional year, you would add another folder.
-
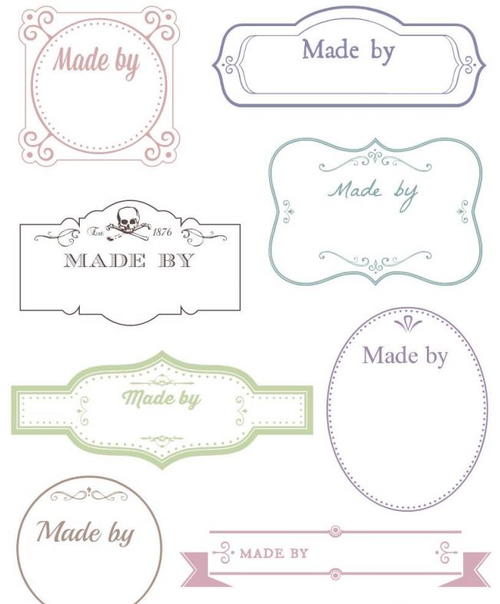
Label the front of your file box. Print out a large label on cardstock for the front of your memory box. You can even use these simple Victorian labels for printing, stamping, or writing in your child's name. Tape each label onto the front of your box. If you have a clear file box, you can also tape the label to the inside.
-
Label each folder. You can print out these Chic Chevron Printable Office Labels for each of the file folders in your child's box. These labels will be used for the tabs on the file folders so all of your child's memories are organized according to school years. Write in their current year on one label. If your child is in kindergarten they would have two folders: one for kindergarten and one for preschool. As your child gets older, more folders will be added to their box corresponding to their year in school.
-
Organize your memories. If you have collected papers and projects over the years, begin separating these memories by the year it was made. Place each memory in its coinciding folder. As your child brings home more projects, you can begin building up your their folders and their memory box.
-
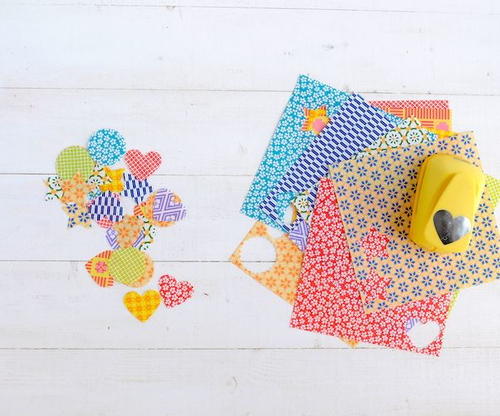
Decorate! Invite your kids to decorate the outside of their individual box. This is the fun part, so let your kids be creative and decorate it any way they want. Use stickers, paint, paper, and any other embellishments you might already have! You can even make your own Mod Podge stickers for some extra decorating fun.
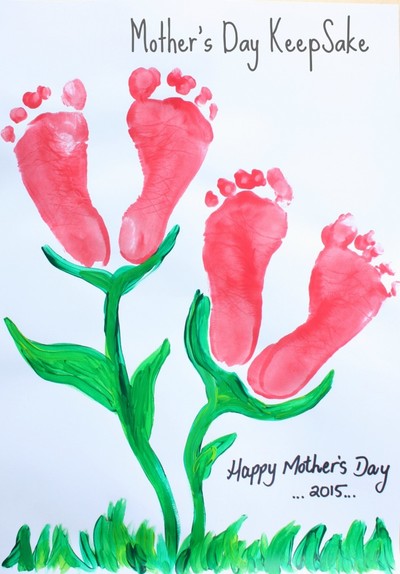
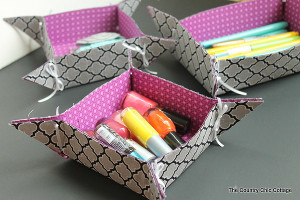
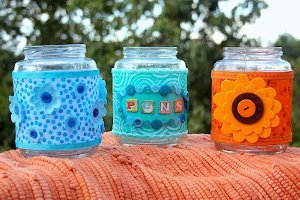
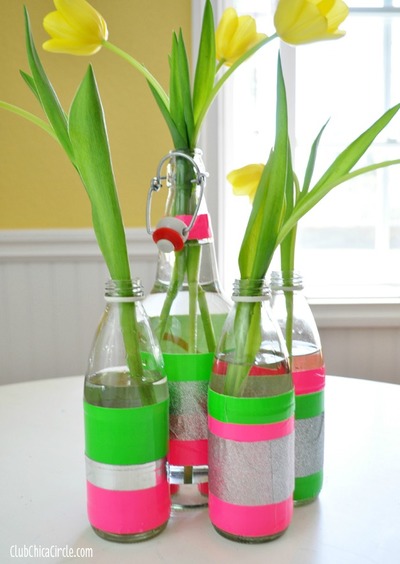
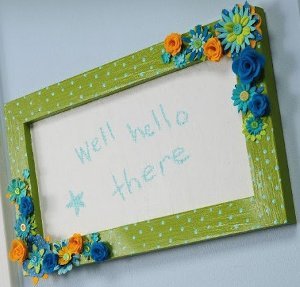
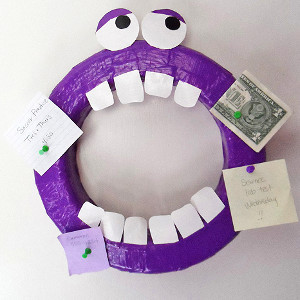
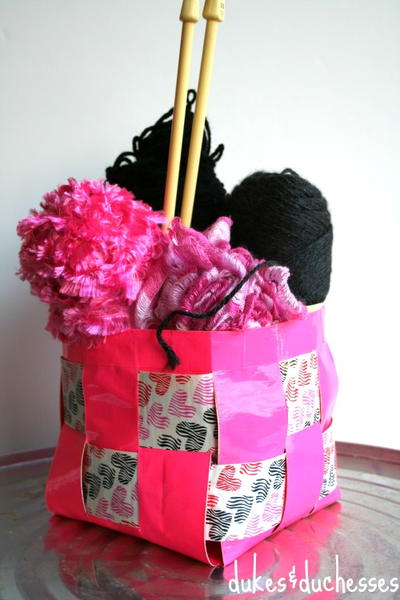
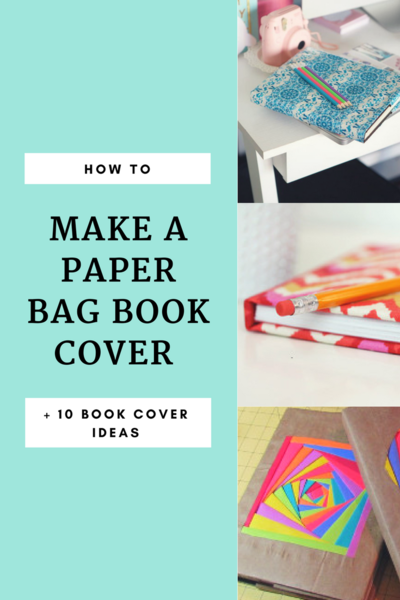
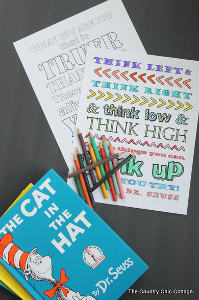
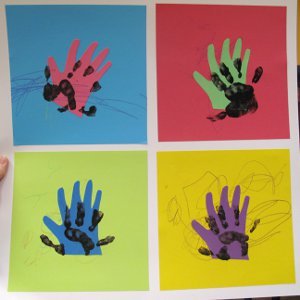
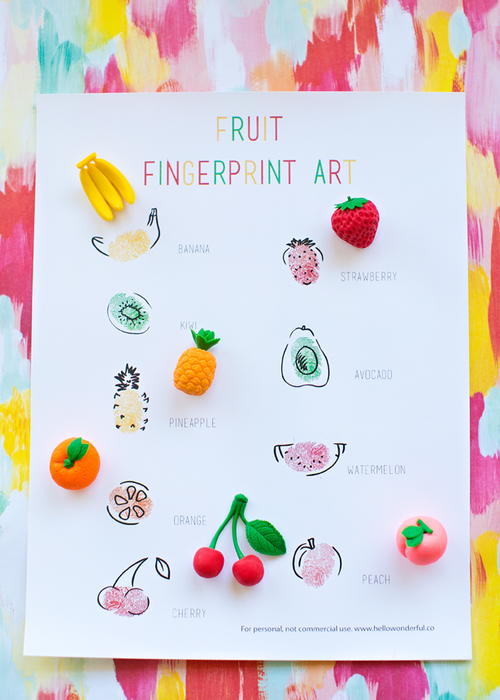
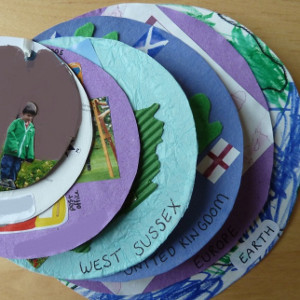
8 At-Home Projects for Your Child's Memory Box
Memories aren't just made at school. Fill your child's keepsake box with a few easy memories you can make right at home!


What's your favorite school memento from your childhood? Share with us in the comments below!
Read NextDIY Floral Chalkboard