Hanging Spring DIY Garden Art

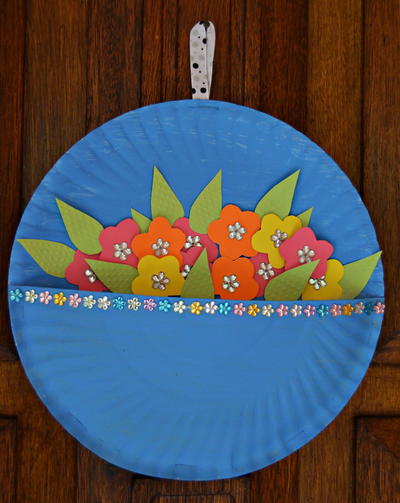
Get your inspiration from the flower-filled window boxes often seen in Europe during the spring season with these spring craft ideas. Use paper plates to make a flower pot and fill the pot with colorful flowers cut from bright cardstock to bring this Hanging Spring DIY Garden Art to life. Add some green leaves and "bling" to these easy crafts for kids, and you are ready to welcome the start of the warmer months. These DIY hanging decorations are a great art project for learners in middle school!
Estimated Cost$21-$30
Time to CompleteIn an evening
Primary TechniquePaper Crafts

Age GroupPreschool & Kindergarten, Elementary School, Pre-Teens
Materials List
- Printout of the pattern sheet
- 2 standard round white economy paper plates
- A5 sized cardstock in the following colors: fuchsia, yellow, orange, and light green
- 6" of any matching grosgrain ribbon
- White cotton filling
- A6 sized old X-ray film which will be used to make the stencils
- Self-adhesive 3D foam squares
- Clear flower rhinestone stickers
- Strips of multicolored 5mm rhinestone flower stickers
- Powder blue acrylic paint
- Quick-drying craft glue (such as Bostik Clear)
- Paintbrush
- Pencil
- Standard scissors
- Embroidery scissors
- Stapler and staples
Instructions
-
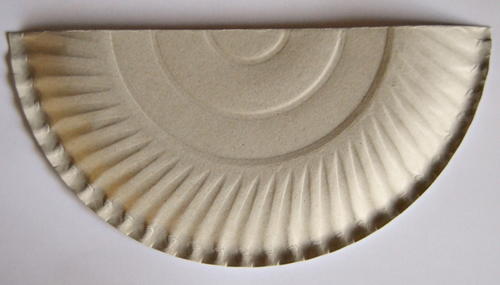
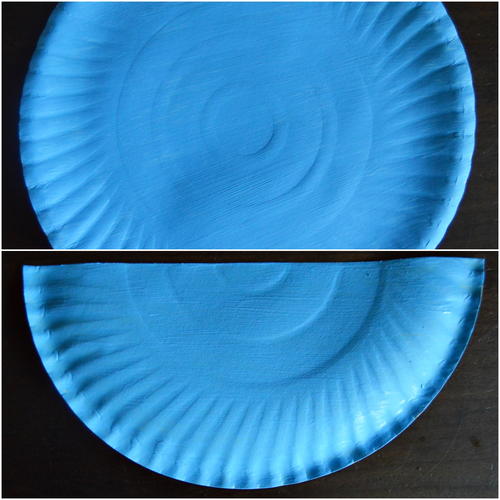
Fold and cut one of the paper plates in half.
-
Paint the back of one of the halves with the blue paint. Paint the front of the full paper plate too and allow both to dry thoroughly.
-
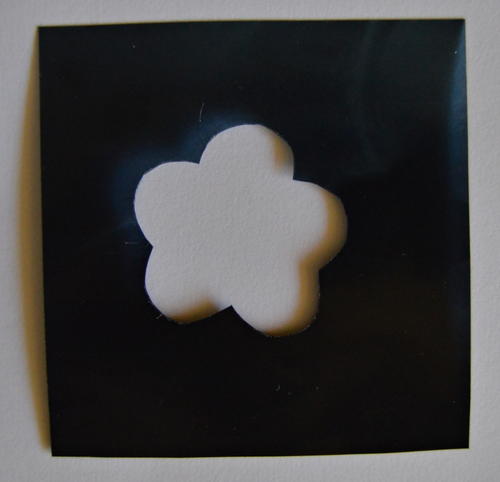
This step should be done by an adult - it can be done beforehand when getting the supplies ready:
Trace the patterns for the flower and leaf onto the X-ray film. Use the embroidery scissors to cut away the inside of the flower and leaf so that you will have two stencils. -
Use the flower stencil to trace flowers onto the yellow, pink, and orange cardstock and cut them out.
-
Use the leaf stencil to trace leaves onto the light green cardstock and cut them out.
-
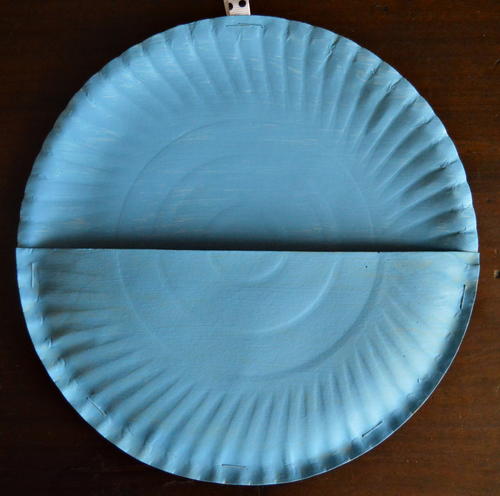
Make a loop with the ribbon and staple it to the top of the full paper plate.
-
Staple the half plate to the bottom of the full plate to make the "flower pot."
-
Glue cotton filling to the inside of the pot to help the pot retain its shape.
-
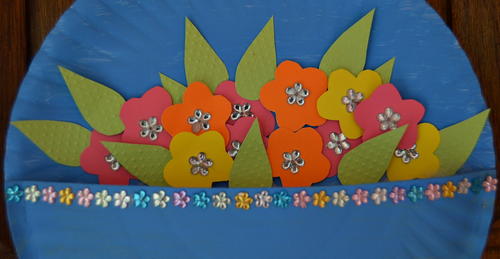
Glue the flowers and leaves to the full paper plate, just above the rim of the pot. Use glue for some of the leaves and flowers, and for others, use self-adhesive 3D foam squares. Glue a clear rhinestone sticker to the center of every flower to add detail to the flowers.
-
Glue strips of multicolored rhinestone flower stickers to the rim of the pot to complete.
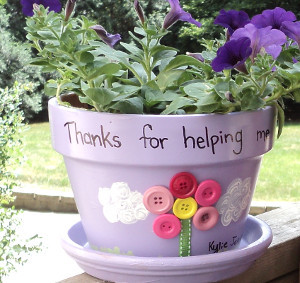
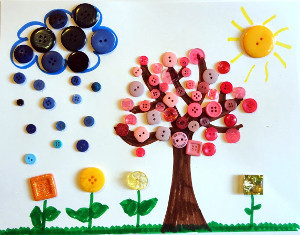
Read NextSpring Scene Button Art