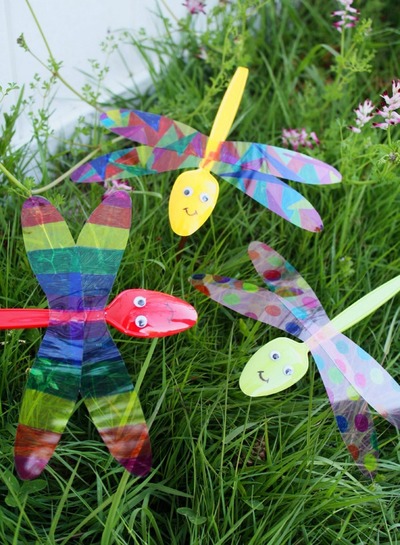
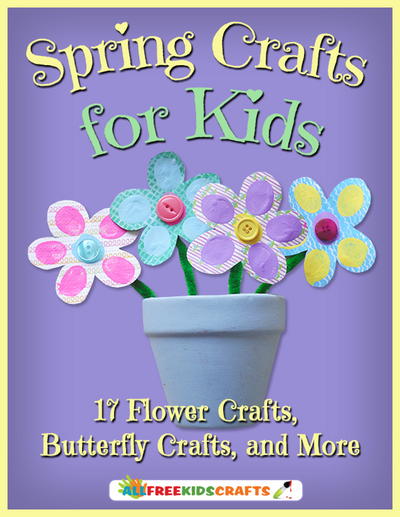
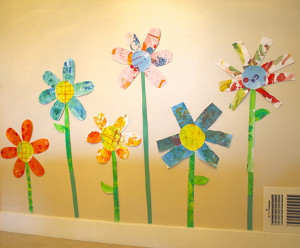
Paper Plate Spring Garden

Spring is notorious for being rainy and wet, so while the April showers are bringing May flowers, you can be warm inside making a Paper Plate Spring Garden with your kids. They will have so much fun with this paper plate craft, that they will want to make it over and over. You can make your very own indoor garden and decorate the walls with your children's beautiful creations. Paper plate crafts are the best because you probably have some left over from a picnic or barbeque, so you already have your main crafting material on hand!
Estimated CostUnder $10
Time to CompleteIn an evening
MaterialsPaint, Paper
Primary TechniquePaper Crafts
SeasonSpring
Age GroupToddlers, Preschool & Kindergarten, Elementary School
Materials List
- Print out of provided pattern sheet
- Standard white economy paper plate
- A7 sized cardstock of seven different colors
- Three small to medium sized organza butterflies
- Staedtler 12-color watercolor set
- Glitter glue pens
- Green felt tip pen
- Paint brush
- Standard scissors
- Pencil
- Quick-drying craft glue (such as Bostik Clear)
Paper Plate Spring Garden
How to Make Your Own
-
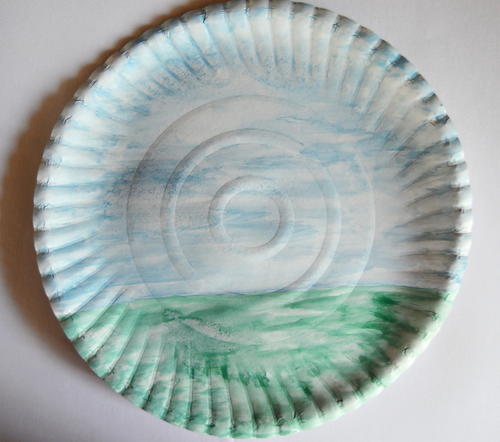
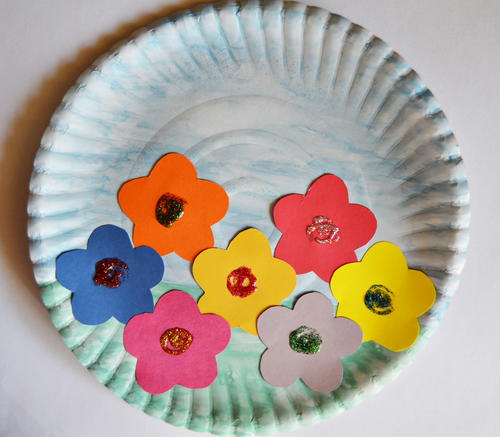
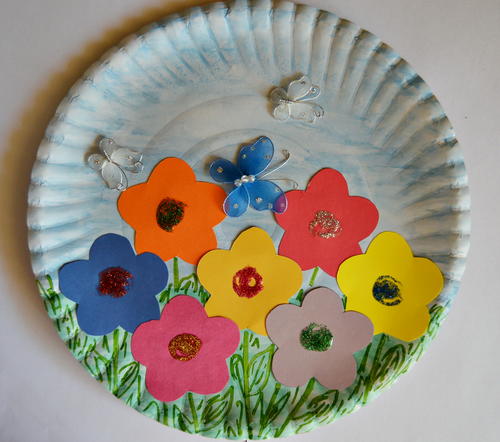
Paint two-thirds of the plate with the blue watercolor paint to add the blue sky to the artwork and allow to dry thoroughly.
-
Paint the bottom third of the plate with the green watercolor paint and allow to dry.
-
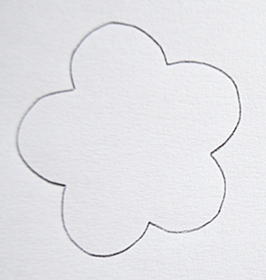
Use the pattern sheet to trace seven flowers onto the cardstock, one of each color and cut them out.
Note: Depending on the child's age, this step might require some help from an adult. -
Glue the seven flowers to the paper plate. Do not glue the flowers in one row, but glue them in several rows to create the impression of a field filled with flowers.
-
Use the glitter pens to add detail to the center of each flower.
-
Use the green felt-tip pen to add stems and leaves to the flowers. Also draw some grass all around the flowers.
-
Glue the three butterflies to the plate.
-
Allow to dry before hanging the artwork, so that the glitter glue won't run.
Read NextPaper Plate Flower Crafts