This project was submitted by one of our readers, just like you.
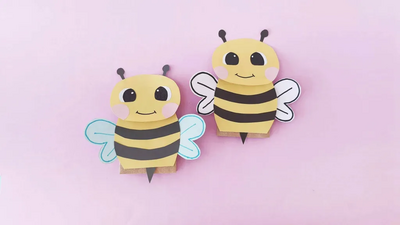
Paper Bag Bee

Paper Bag Bee
"In the springtime, bees are buzzing everywhere, frantically collecting that pollen from every bloom. Give your own little busy bees a fun project to work on with this Paper Bag Bee! Your kids will love buzzing this cheerful puppet all around the house. Maybe they’ll even come up with a bee-themed puppet show for the whole family to enjoy. Paper bag puppets are a childhood staple. They’re easy to make and fun to play with. Plus, they store flat, so you can have an entire puppet collection tucked away in a drawer for whenever your kids want to play! "
Primary TechniqueOther

Materials List
- Colored construction paper
- Pencil – to trace the template
- Craft glue
- Sharpie or gel pen
- Scissors
- Paper bag
Instructions
-
Select a paper bag or craft a bag from brown paper or any colored construction paper of your choice. Print and cut out the template patterns from A4 size sheets. Trace the patterns on the selected craft papers and cut them out nicely. The template includes the following patterns – head, antenna, blush, wings, stripes, stinger and eye bases. Use a black sharpie to fill the eyes on the eye bases.
-
Glue the antennae to the top of the head
-
Glue the eyes onto the head cutout
-
Glue the pink blush cutouts to the head cutout
-
Use a sharpie to draw the mouth and the wing outlines.
-
Measure and cut out a piece of yellow paper to cover the front side of the paper bag, under the flap. The prepared yellow paper will be the body of the paper bag bee
-
Glue the stripes horizontally across the body cutout, and attach the stinger to the bottom.
-
Glue the body to the paper bag under the flap.
-
Adjust the length of the paper bag by cutting it short (if necessary). Glue the head to the flattened bottom of the paper bag.
-
Glue the wings to the sides of the bag to complete the craft.

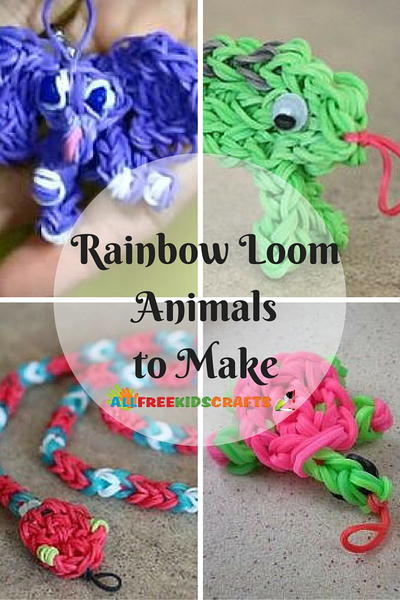
Read Next13 Rainbow Loom Animals