This project was submitted by one of our readers, just like you.
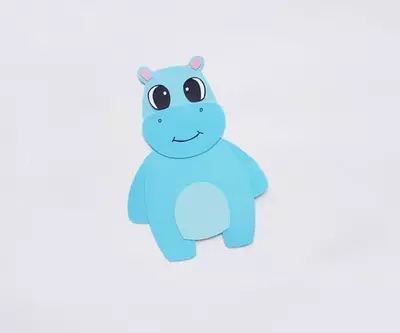
Hippopotamus Papercraft

Hippopotamus Papercraft
"Splash into fun with this adorable and easy Hippopotamus Papercraft! With just a few simple supplies and these easy-to-follow instructions, your kids will be creating and playing in no time. There are so many fun ways to enjoy your hippopotamus papercraft! Add it to a larger piece of paper and create a background scene, or add a craft popsicle stick to the back and use it as a puppet! The possibilities are endless with your favorite hippo papercraft! "
Primary TechniquePaper Crafts

Materials List
- Craft paper
- Craft glue
- Pencil
- Sharpie
- Scissors
Instructions
-
Select 2 or 3 different shades of the same colored paper for the paper hippopotamus craft. We’re using 3 different shades of blue colored paper. Trace the head and body patterns on the medium shade, the arms (upper legs of the craft) and the bottom part of the face patterns on the dark shade, and lastly, the belly pattern on the lighter shade of the selected papers. Trace the toe patterns on white paper and the inner ear patterns on pink paper. Cut them out nicely.
-
Stick the inner ear patterns in the middle of the ear parts joined to the head cutout.
-
Stick the 2 separate leg cutouts on both sides of the body base cutout. Stick the half-circular cutout on the bottom side of the head cutout. Also, stick the eye cutouts near the top part of the head cutout.
-
Stick the head pattern on the top side of the body pattern. Use a sharpie to draw the nose, mouth, and eye outlines
-
Stick the toe cutouts along the bottom sides of the leg parts joined to the body base cutout.
-
Stick the 2 other toe cutouts on the open ends of the upper leg patterns to complete the craft.

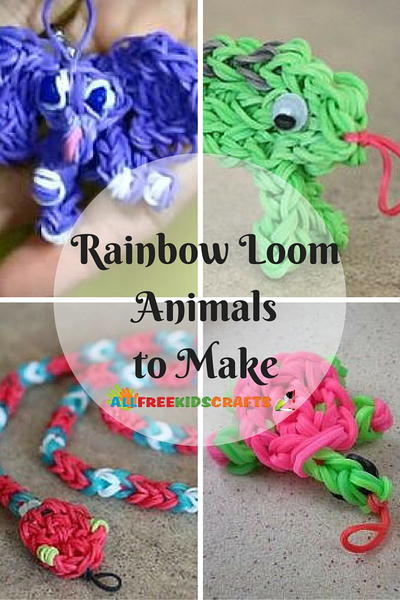
Read Next13 Rainbow Loom Animals