Headphone Wrap DIY Kit
Headphone Wrap DIY Kit
:
www.myenmart.com
Reviewed by zzz Christine zzz Weiher, Editor, AllFreeKidsCrafts.com
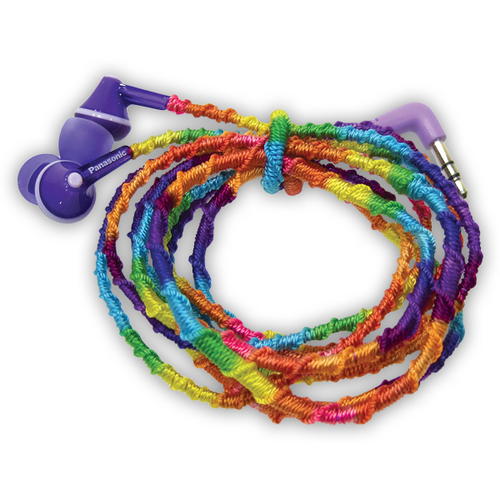
The most recent product I got to test out was the Pretty Twisted Headphone Wrap DIY Kit from EnMart. I really think kids, tweens and teens will get a kick out of this product. Instead of the typical plastic, rubber or wire-coated headphones, you can use this kit to wrap around and create a beautiful headphone set. Functionality and style is at its best with this DIY kit. Using just one single strand of thread you can have the most colorful pair of headphones around.
Within each kit you'll get a Panasonic ErgoFit pair of earbuds, an Iris #2 spool of nylon thread and step-by-step instructions. This DIY kit is intended for 12 years and up, but any child that knows how to make a knot or fun fashion bracelets with string, then they'll be able to do it, too. The unique nylon changes colors every few inches causing an explosion of color! The multicolor look is achieved without having to change threads, so it will save plenty of time. The colors are nice and bright, too so the kids will love it. This is a great way to protect your headphone cord and prevent it from tangling and breaking. You (or the kids) will enjoy these earbuds as they're known for their superior comfort and fit, and now they can be customized with fun colors. I personally have a really tough time finding earbuds that don't hurt my ears; they either come out, they're too big or the shape just doesn't fit with the shape of my ear, but these are perfect!
Getting started with the thread is the tricky part, or at least it was for me. Although it comes with directions on how to get started once you choose your knot, I had a difficult time creating it. Each knot thereafter is a bit tricky as well because you have to work with the entire spool of thread. If you think of the bracelets you used to make when you were a kid, you would measure your wrist first and then cut the string accordingly, but you can't do that with this. Because there is only one spool to work with, the spool itself needs to be held throughout, so the loop you knot through needs to be big enough for it to fit. I did keep getting caught on the spool, but once I got the hang of the knots and going around the cord it became quite simple. I can certainly see how you would need patience and a lot of time to create this awesome DIY wrap; the box says it'll take about 4 to 6 hours, but maybe you're a genius bracelet maker, so you should easily be able to finish a lot quicker than me.
With the holiday season upon us this would make a great gift for that child in your life. Not only will this kit keep them occupied for a few hours, but then they'll get to tone you out once again by turning up the music in their ears.
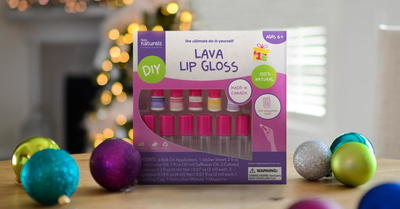
Read NextLava Lip Gloss Kit